|
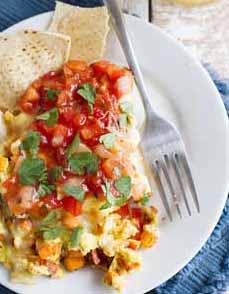
Today’s tip is to make Cinco de Mayo (and any celebration) more colorful with tri-color taco chips. Some brands sell them in mixed-color bags. Or you can buy your favorite brand in different colors and mix them yourself.
Tortilla chips, such a popular snack food and dip holder, is a relatively new Tex-Mex food, created in 1940s Los Angeles by Rebecca Webb Carranza, who owned a tortilla shop and Mexican delicatessen.
THE HISTORY OF TORTILLA CHIPS
Rebecca Webb was born in Durango, Mexico in 1907, to Leslie Webb, an engineer from Utah who worked for an American mining company in Mexico, and his Mexican-born wife, Eufemia Miranda.
In Durango, her family, including five brothers lived through the turmoil of raids by Pancho Villa and other bandits. Pancho Villa especially did not like her father, because he was American.
Leslie Webb moved the family moved to El Paso, Texas when Rebecca was a pre-teen. After her parents divorced, in the 1920s, her mother brought the children to Los Angeles. She met her future husband, Mario Carranza, on a blind date, and they married in 1931.
At that time, she was sewing ties for a neckwear company, and he worked in finance at O’Keefe & Merritt, an appliance maker. On the advice of a friend who ran a successful tortilla shop in East Los Angeles, the Carranzas opened one in the early 1940s and moved into an apartment above the tortilla factory and shop. [source: L.A. Times].
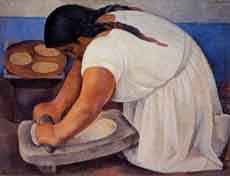
The deli sold fresh tortillas daily. In the tortilla factory, she observed the daily waste of misshapen tortillas and leftover dough that were discarded.
She set out to do something with the discarded tortillas.
According to the Boston Globe, for a family party in the late 1940s, Ms. Carranza cut some of the discarded tortillas into triangles and fried them into a delicious, crunchy snack.
A hit with the relatives, she soon was selling them for a dime a bag at her delicatessen, and at the factory that made them for her in southwest Los Angeles.
From Handmade To Conveyor Belt
Tortillas met the machine age in the late 1940s. The Carranza’s El Zarape Tortilla Factory was among the first to automate the production of tortillas, acquiring a tortilla-making machine in 1947.
Tortillas poured off the conveyor belt more than 12 times faster than they could be made by hand.
At first many, came out bent or misshapen, recalled decades later, and were thrown away. So we can thank tortilla machinery for the existence of taco chips.
The chips Ms. Carranza created were initially called tostadas, from the Spanish word for toasted.
Tortilla chips became a wild success among her customers. In addition to snacking from the bag, they were used with Mexican dips such as guacamole and salsa, and even with refried beans.
By the 1960s, the snack chips, packaged as Tortills Chips, were distributed up and down the West Coast by El Zarape, and had evolved into El Zarape’s primary business.
Competition Arrives
The product came to the notice of Frito-Lay, which began making their a mass-market version of the crunchy triangles. Soon, other manufacturers got into the act.
She turned her tortilla chip business over to her husband when they divorced in 1951, and he moved the factory to Long Beach. But by 1967, El Zarape was forced out of business by competition the superior marketing clout of Doritos and Fritos.
|
|

[1] Tricolor chips with pumpkin salsa from The Veg Life (photo © The Veg Life).
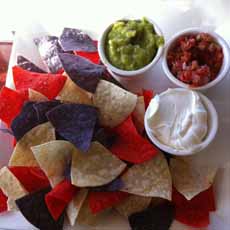
[2] Tricolor chips with dips (crema, guacamole, salsa) from Tastespotting.
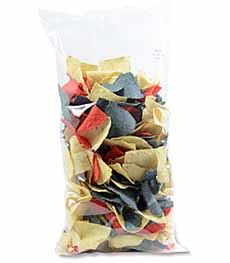
[3] A bag of mixed chips from Abuelita’s (photo © Abuelita).
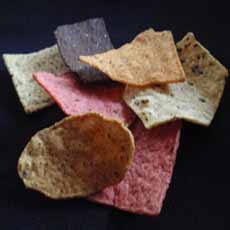
[4] We mix and match our own colors with one of our favorite brands of tortilla chips, Food Should Taste Good. Beyond the mixed colors and shapes, there are eight different flavors, from traditional to jalapeño, kimchi and olive.
|