|
NASOYA CHIPOTLE BAKED TOFU
Who says tofu isn’t flavorful? Nasoya, the country’s largest producer of tofu, has added a new flavor to its line of TofuBaked.
Chipotle TofuBaked is ready to eat, sliced cold into salads or sandwiches, or heated for scrambles, omelets and Tex-Mex favorites (burritos, fajitas, tacos). Recipes on the website include Seven Layer Chipotle Dip, Southwest Breakfast Bake and Chipotle Tortilla Soup.
We’re also fans of Ginger TofuBaked.
The product is USDA certified organic and certified kosher by Star K.
More information.
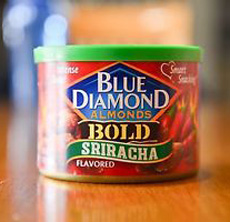
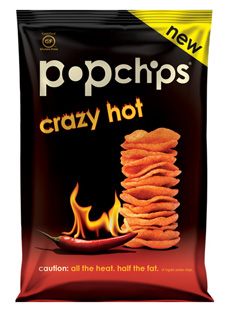
POPCHIPS CRAZY HOT
Quite hot, if not crazy hot, these chips are also quite tart, with as much vinegar as heat.
In addition to red chili pepper flavor, there are hints of Cheddar cheese. We think it’s a winner for hot stuff lovers.
The line is certified kosher by KOF-K and certified gluten free. More information.
RUNA ICED TEA
Runa Clean Energy has no sugar added iced teas, which, thanks to the guayusa from which the tea is brewed, has a natural sweetness as well.
The line is certified kosher by OU, Fair Trade Certified and a Certified B Corporation.
In 8.4-ounce/250 ml cans, flavors include Berry, Orange Passion and Original. More information.
|
|
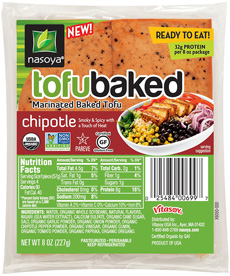

TOP PHOTO: Spicy tofu, ready to eat from Nasoya. BOTTOM PHOTO: More hot stuff, this time in crunchy potato chips from Popchips .
|