|
2. USE a stand mixer fitted with paddle attachment, or a hand-held mixer with a large bowl. Beat the butter and brown sugar on high speed until light in color and creamy. Mix in the egg, followed by the molasses.
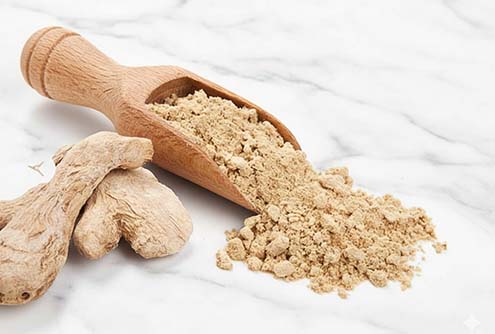
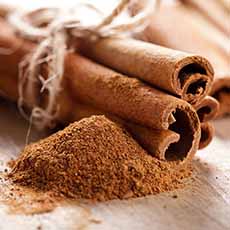
3. STIR together in large bowl the flour, baking soda, cinnamon, cloves and ginger. Add the flour mixture to the butter mixture all at once and mix on low until incorporated.
4. DIVIDE the dough in half and shape each piece into a log about 4 inches wide. Space the logs evenly on the sheet pan and flatten each log to about 2 inches high. Sprinkle generously with granulated sugar.
5. BAKE until the edges are golden and the surface is cracked, 20-25 minutes. Remove from the oven and let cool in the pan for 20 minutes.
6. SLICE the logs with a serrated knife into 1-inch thick slices. Place the slices cut side-up on pan lined with parchment paper and bake an additional 12-14 minutes until edges are brown. Let cool completely.
7. MELT the chocolate in small heat-proof bowl in the microwave at 60 percent power for 1 minute. Stir until smooth. If not completely melted, continue to microwave the chocolate in 10 second intervals, stirring in-between intervals. Be careful not to scorch the chocolate.
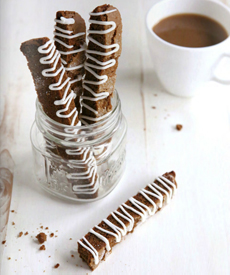
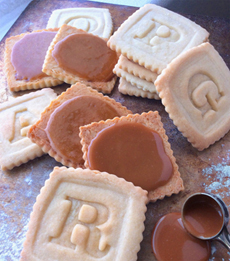
8. DRIZZLE the melted chocolate over the cooled cookies. Let them sit for 15 minutes before serving or storing. Store biscotti in airtight container at room temperature.
THE HISTORY OF BISCOTTI
Created as a convenient non-perishable food for travelers and a staple of the diet of the Roman Legions, today’s biscotti are a classic dessert in Tuscany, accompanied by an amber-hued glass of vin santo†, a dessert wine. Americans enjoy them with a cappuccino or other coffee drink.
Originally flavored with almonds (amaretti), then with anisette, biscotti are now made in dozens of flavors. Here’s Mario Batali’s favorite recipe for the classic amaretto and anisette biscotti.
The word biscotto derives from “bis,” Latin for twice, and “coctum” or baked (which became “cotto,” or cooked, in Italian).
In Roman times, unleavened, finger-shaped wafers were baked first to cook them, then a second time to completely dry them out, making them durable for travel and nourishment on long journeys. Pliny boasted that they would be edible for centuries.
The record does not indicate that biscotti survived the sack of the Roman Empire. But they re-emerged in Tuscany during the Renaissance, credited to a Tuscan baker who served them with vin santo. Their dry, crunchy texture was deemed to be the perfect medium to soak up the wine.
Centuries later, many still agree that dipping biscotti into vin santo is a perfect way to end a meal, or to while away an hour at a café. Biscotti and coffee are also a match made in Heaven.
Italians call biscotti cantucci, and use the term biscotti to refer to any type of crunchy cookie—round, square and otherwise (as the British use the word “biscuit”). In North America, we use “biscotti” as the ancient Romans did, to describe a long, dry, hard, twice-baked cookie (in other words, cantucci).
Here’s a longer history of biscotti.
|