|
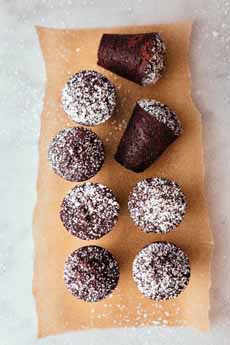
For prosperity in the new year, it’s a Southern tradition to eat black-eyed peas on New Year’s Day—most popularly in the beans-and-rice dish, Hoppin’ John. Other favorites are black-eyed peas and ham, the peas often combined with collards (photo #3).
The custom is actually a lot older than the U.S., and began in the Middle East.
An ancient Sephardic Jewish custom, black-eyed peas are served on Rosh Hashanah, the Jewish new year, Rosh Hashanah. This “good luck” tradition is recorded in the Babylonian Talmud, compiled circa 500 C.E., and includes other good luck foods such as beets, dates, leeks and spinach. The custom is still followed by Israeli Jews and Sephardic Jews the world over.
Other good-luck foods eaten at new years around the world include figs, fish, grains, grapes, greens, noodles, pork and pomegranate seeds. Here’s why.
Like hummus? Try this black-eyed pea dip as an alternative.
If you prefer, here’s a recipe for black-eyed pea salsa.
RECIPE: BLACK-EYED PEA DIP & SPREAD
Even if this recipe (photo #1), from Melissa’s, doesn’t give you prosperity, it does provide nutrition.
Beans are a nutritional powerhouse as well as a very economical source of protein. Make a resolution to add beans to your diet at least once a week; the more often, the better.
In addition to dip and sandwich spread, a hot bean side dish and bean soup, try a cold bean salad vinaigrette or mix beans into a green salad or grain bowl.
There are even bean desserts. The you may have encountered chocolate cookies and brownies enriched with black beans, or Japanese red bean ice cream and dessert sauces (they’re azuki beans, sometimes mis-translated as adzuki beans).Take a look at these bean dessert recipes.
Ingredients
12 ounces black-eyed peas cooked according to package directions (20 minutes in a pressure cooker)
1/2 cup mayonnaise (garlic mayonnaise—aïoli—is delicious [recipe])
1/4 cup chopped onion
Optional: 1 jalapeño, stem and seeds removed
Salt and fresh-ground black pepper to taste
Bread or crackers for spreading, crudités for dipping
Preparation
1. COMBINE all ingredients, except for the crackers, in a food processor or blender until smooth. Refrigerate until ready to use.
2. SERVE with bread, crackers or crudités. We also use it as a sandwich spread with grilled vegetables and mozzarella.
ARE BLACKEYED PEAS PEAS OR BEANS?
They’re beans, beige in in color with a black “eye” on one side. The beige tone can range from off-white to light tan.
|
|
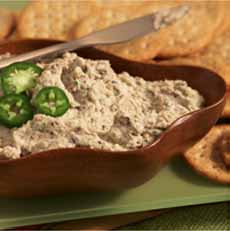
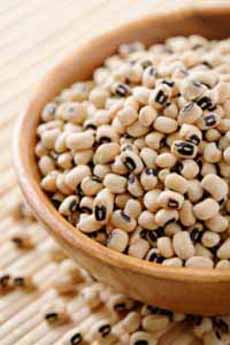
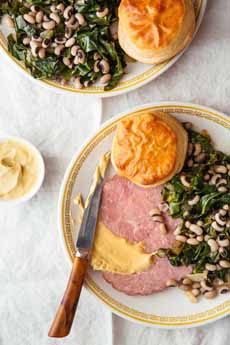
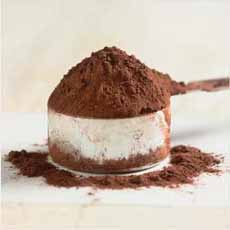
[1] Black-eyed pea dip from Melissa’s. [2] The source material: black-eyed peas (photo Viktor Lugovskoy| IST ). [3] Blackeyed peas and collards with ham (photo courtesy Good Eggs).
|
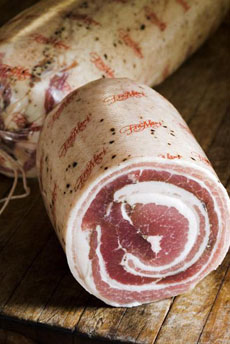
Black-eyed peas are also called black-eyed beans, because they are a subspecies of the cowpea, which is called a pea but botanical a bean, as are chickpeas, also called garbanzo beans.
The are variously spelled black-eyed, black eye or blackeye[d].
The Difference Between Peas & Beans
Peas and beans are both legumes and seeds, each a separate genus in the Fabaceae botanical family. Some key differences:
Pea plants (genus/species Pisum sativum) have hollow stems; beans (genus/species Cicer arietinum) have solid stems.
Peas have leaf tendrils which they use to twine. In general, beans lack tendrils.
The taller varieties of both peas and beans need trellises to support them as they grow. Most beans just twine themselves over their supports, while peas use their tendrils to climb. At each node along their stems, peas generate two or three one-inch-long tendrils, which grab and then wind themselves around something, such as a narrow trellis.
If you’re still curious, here’s more on the differences.
THE DIFFERENT TYPES OF BEANS
|