|
May 5th is Cinco de Mayo. This year, it’s also the Kentucky Derby and National Hoagie Day. What’s a holiday-focused food writer to do?
We can recommend that you use the Holidays & Occasions pull-down menu at the right and peruse the content for both holidays. But we’re going to focus on custard.
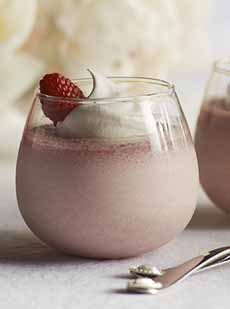
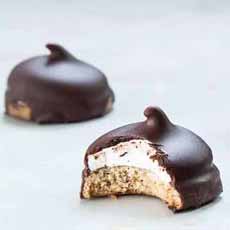
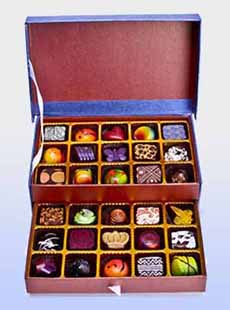
Why custard? Well, May 5th is National Chocolate Custard Day (photo #5).
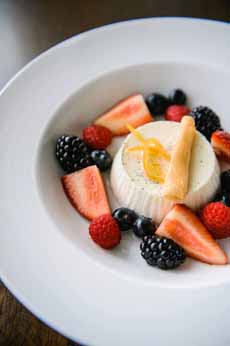
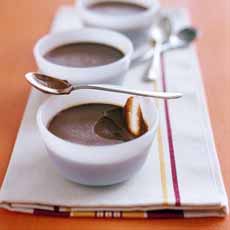
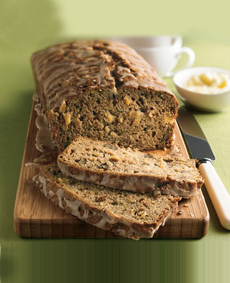
As we were served a panna cotta dessert (photo #1) yesterday, we thought of how it has replaced a richer custard, crème brûlée, on restaurant menus; and how decades earlier, crème brûlée replaced plain baked custard, scented with nutmeg or cinnamon.
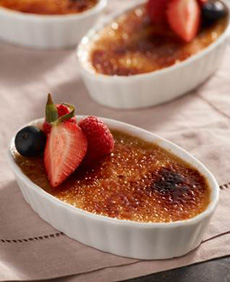
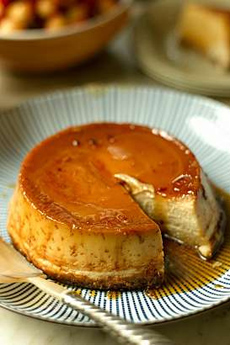
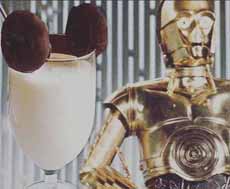
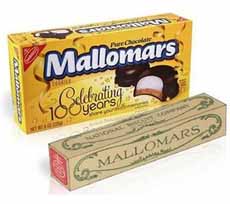
Every culinary student studies the three classic French baked custards: crème brûlée (photo #2), crème caramel (photo #3), and pot de crème. All three are made of eggs, milk and/or cream, and sugar, in different proportions, along with a flavoring such as vanilla.
Crème brûlée is made of all heavy cream and egg yolks and is topped with a brittle layer of caramelized sugar (brûlée is French for burnt, crème brûlée means “burnt custard”)
Crème caramel (called flan in Spanish) is the lightest of the three, made with whole eggs and a blend of milk and cream.
Pot de crème is made from equal parts of cream and milk and an extensive amount of egg yolks—e.g., 6 yolks per 2 cups of cream/milk, which make it a softer custard.
Our mother made that classic baked custard scented with nutmeg. It was so rich and eggy—even though she used milk instead of cream. We hesitate to bake it today because you can’t bake just one or two ramekins—and we have no restraint.
TYPES OF CUSTARD
There are more than 50 additional custard dishes and terms in our Custard Glossary, one of 100 NIBBLE glossaries that give you a great understanding of each category of food.
See the difference between custard and pudding below.
THE HISTORY OF CUSTARD
Custard as we know it dates back to the Middle Ages when it was used as a filling for a flan or a tart.
The word custard is derived from “crustade,” a tart with a crust. A popular tart filling was what we came to call custard.
After the 16th century, fruit creams became popular, and it was about this time that custards began to be made in individual dishes or bowls rather than as fillings for a crust.
Yet, as things move the full circle, today custard is used to fill tarts, Danish pastry, cream puffs, and éclairs. It is mixed into trifles and turned into savory sides, like mushroom custards.
It is turned into desserts like Bavarian creams, bread puddings, charlottes and Floating Island.
Mousse is a custard whipped into an airy froth.
Custards are prepared in two ways: stirred or cooked on top of the stove, or baked in the oven.
Stirred custards (also called crème anglaise, custard sauce, and soft custard) are cooked over low heat or in a double boiler to a thickened yet fluid consistency.
The custard is then refrigerated where it will continue to thicken. The repeated stirring prevents the custard from firming up. Instead, stirred custards are used as fillings, sauces, or ice cream bases.
THE DIFFERENCE BETWEEN CUSTARD & PUDDING
What Americans call pudding is a creamy, sweetened milk mixture thickened with cornstarch, then cooked.
These are found mostly in the form of chocolate pudding, vanilla pudding, butterscotch pudding, and lemon pudding. They do double duty as pie fillings.
When a recipe is exceptionally smooth and light, it is often called silk pudding.
American puddings contain no eggs. In the U.K. and Europe, they are known as blancmange.
In the U.K. “pudding” refers to any dessert. It also refers to sweet, cake-like baked, steamed and boiled puddings, usually made in a mold.
Savory puddings, such as corn pudding, are so-called because they contain milk and eggs, which thicken the mix; and savory “puddings” can be custards (we won’t go into the details at the moment).
Other foods that are called pudding include black pudding or blood pudding (which is a sausage) and Yorkshire pudding (baked batter, served as a side).
By the way, August 17th is National Vanilla Custard Day. June 26th is National Chocolate Pudding Day.
Custard and pudding tips to follow!
|