|
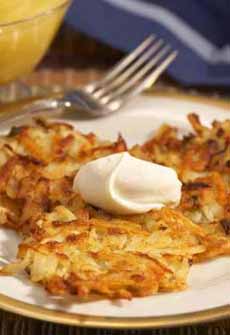
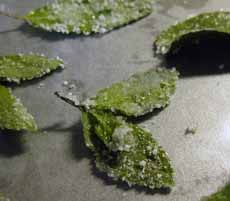
[1] The original Dutch Baby: cinnamon, vanilla and a touch of powdered sugar (photo © In My Red Kitchen).
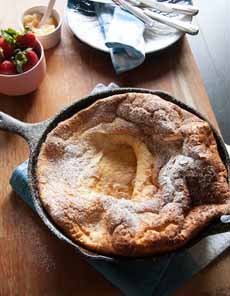
[2] From breakfast to dessert: Raspberry Dutch Baby and Chocolate Dutch Baby (photo © The Modern Proper.
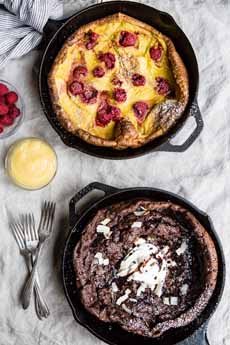
[3] Lemon Blueberry Dutch Baby (photo © Camille Styles).
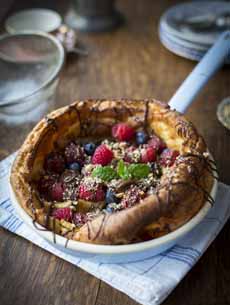
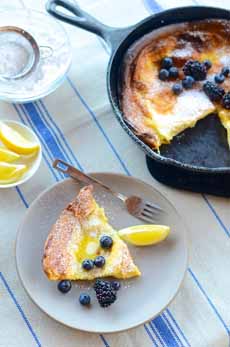
[4] A dessert Dutch Baby with all the fixings. The recipe is below (photo © Donal Skehan).
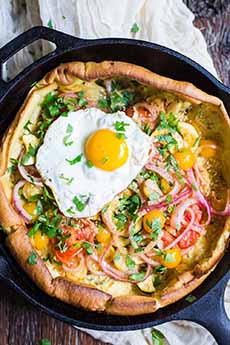
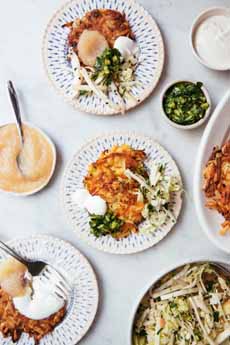
[5] Fill a savory Dutch Baby with eggs, ham, vegetables, and/or cheese. Here’s the recipe (photo © Food With Feeling).
| |
Have extra house guests for the holidays? Kids home from school? Everybody expecting a leisurely breakfast?
Rather than flipping pancakes, why not make a Dutch Baby, a multi-portion pancake that’s baked in the oven, no flipping required.
The recipe follows below.
> So are more Dutch Baby pancake recipes.
> The history of the Dutch Baby pancake is below.
> So is the history of pancakes.
> More about pancakes.
> The different types of pancakes and waffles: a photo glossary.
WHAT’S A DUTCH BABY?
A Dutch Baby is an airy, popover-type breakfast pancake made first in a skillet, then in the oven.
You can cook it in a cast iron skillet, or in a special pan that does duel duty for Dutch Babies and paella (plus all these uses for a paella pan).
The sides puff up and are crisp like a popover the traditional accompaniment of lemon wedges which get squeezed all over the top.
You can add maple or other fruit syrup, lemon wedges and/or zest, butter and a sprinkle of confectioner’s sugar—or all of them.
You can pair spices with ingredients; for example, an apple Dutch Baby with apple pie seasonings. The fruit can be a topping or diced and added to the batter.
They are typically sweet, but you can omit the sugar and a savory version (photos #5 and #6), topped with ratatouille, leftover stew, taco fixings, etc. (see our article on savory pancakes).
You can see the variety in the photos.
The basic recipe includes eggs, flour, sugar and milk, usually with vanilla and cinnamon. Seasonal fruits are popular additions, as are citrus and chocolate.
Yes, you can add chocolate sauce or other dessert sauce, fruit and whipped cream, mascarpone or crème fraîche for a dessert Dutch Baby. Frankly, we know more than a few people who’d eat this combination for breakfast (more on chocolate pancakes).
THE HISTORY OF THE DUTCH BABY PANCAKE
The pancake is neither Dutch nor Pennsylvania Dutch, Deutsch (German), but created in Seattle at the turn of the 20th century. It has roots in small, thin crepe-like German pancakes, garnished with powdered sugar and a squeeze of lemon wedge; and the Apfelpfannkuchen, German pancakes made in a large plate size.
According to Sunset magazine, Dutch Babies were introduced in the first half of the 1900s at Manca’s Cafe in Seattle, a popular spot that opened around 1902 and closed in the 1950s (here’s the history). The cafe was owned by Victor Manca, but we don’t know who provided the inspiration to adapt a German-style pancake.
History says that the name Dutch Baby was coined by one of Victor Manca’s daughter, who may have transformed “Deutsch baby” into big Dutch Baby.
The Dutch baby is a specialty of some diners and chains that specialize in breakfast dishes, such as the Oregon-founded The Original Pancake House or the New England-based chain Bickford’s, which makes both a plain Dutch baby and a similar pancake known as the Baby Apple, which contains apple slices embedded in the pancake. It is often eaten as a dessert.
Thanks to Good Eggs for this recipe, which we adapted slightly and made with a variety of different toppings.
RECIPE: DUTCH BABY PANCAKE WITH FRUIT & RICOTTA
Ingredients For 3 Servings
A good template for the batter is 1/3 cup flour and 1/3 cup milk/other liquid per egg.
3 eggs
¾ cup whole milk
¾ cup all-purpose flour
1 teaspoon vanilla extract
Pinch salt
4 tablespoons unsalted butter
2 pears or apples, thinly sliced (substitute bananas or other fruit)
1 tablespoon brown sugar
A few pinches ground cinnamon
½ cup ricotta
Maple syrup
Optional: lemon or orange zest
GENERAL TOPPINGS
Take a basic (plain) Dutch Baby recipe and add your choices of:
Fresh fruit: berries, bananas, whatever
Fruit curd, marmalade or preserves
Powdered sugar
Chocolate sauce other dessert sauce or fruit purée
Coconut, toasted nuts, raisins or other dried fruit (we particularly like cherries and cranberries)
Dairy: mascarpone, ricotta, hand-whipped cream (i.e., not from a can)
Syrup
|