|
Mug cakes have been around for a while. They’re a handy solution when you’re jonesing for a piece of cake. Simply combine some basic ingredients in a coffee mug and microwave for 2 or 3 minutes.
Yet, a survey among our cake-loving friends and colleagues indicates that few of us make mug cakes. So today, National Coffee Day, we’re encouraging the practice with the Mug Coffee Cake recipe below.
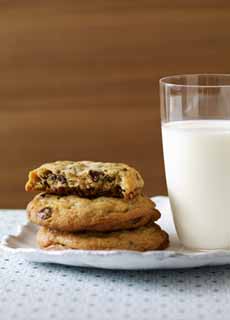
If you like mug cakes as much as we do, there are several mug cake cookbooks. Start with Mug Cakes: 100 Speedy Microwave Treats to Satisfy Your Sweet Tooth (photo #1).
THE HISTORY OF MUG CAKES
While unleavened cakes date back to ancient Egypt, most were savory cakes, some garnished with honey. Without leavening, they did not rise.
It took another few millennia, until the 18th century, for bakers to discover the technique of whipping eggs to make cakes rise. While it required many hours of beating, the wealthy had enough labor in the kitchen. These unsung bakers heralded the dawn of modern baking.
By the 1840s, baking soda had been invented, followed by baking powder in the 1860s (the difference). These chemical leavening agents meant that most cooks could make a cake rise.
With cakes came cupcakes. The original cupcakes were baked in coffee cups; hence the name. They were actually mini “test cakes,” to test the heat of the oven.
From the prehistoric dawn of the oven to the latter half of the 19th century, there were no thermostats to regulate the temperature of the oven, which was fueled by a wood or charcoal fire. Delicate cooking like baking required great technique (the history of ovens).
In 1851, the Bower’s Registered Gas Stove debuted at the Great Exhibition in London, featuring a revolution: a thermostat. It became the basis for the modern gas oven.
As ovens with regulated temperatures became available, and sugar became affordable to most people, more home cooks were able to bake to their hearts’ content. This resulted in more creativity in recipe development. The modern cake as we know it began to take shape in the mid-19th century.
Finally, The Microwave!
The next great leap forward, the consumer microwave oven, was launched in 1967. But it took another 50 years or so to popularize a microwaved cake-in-a-mug. Finally, in the Information Age, it quickly gained popularity via online cooking forums.
The technique uses a mug as the cooking vessel and takes just a few minutes to toss the ingredients into the mug: flour, sugar, baking powder, seasonings and fats (butter, cream, oil). The mug goes into the microwave; as the fat in the mixture heats up, it creates air pockets that cause the cake to quickly rise.
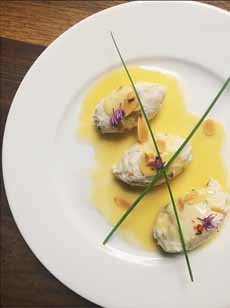
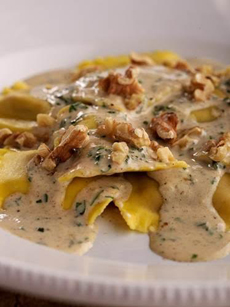
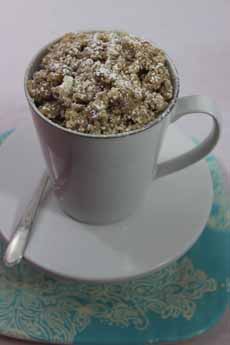
Here’s a fun idea for National Coffee Day: a coffee mug cake filled with coffee cake (photos #2 and #3).
If that sounds like too much of a tongue twister, let us explain:
Ava’s Cupcakes, a winner of Food Network’s Cupcake Wars, has created a tongue-in-cheek cake for National Coffee Day. It’s a mug cake—made in a coffee mug. And that’s a streusel-topped coffee cake in that mug.
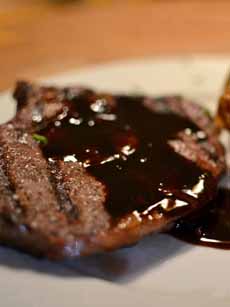
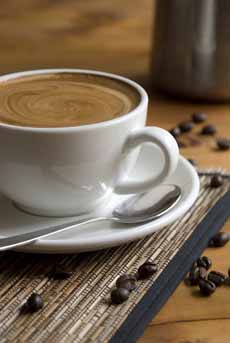
You’ll also need a separate mug of coffee to drink with the mug cake (photo #4)…but what a memorable coffee break!
If you’re in the neighborhood, Ava’s Bakery has a retail bakery in Rockaway, New Jersey. If not, there’s a large selection of products available online at AvasCupcakes.com.
RECIPE: COFFEE CAKE IN A MUG (MUG CAKE)
Ingredients For The Cake
2 tablespoons butter, softened
2 tablespoons sugar
2 tablespoons heavy cream
¼ teaspoon vanilla
¼ teaspoon cinnamon
¼ all-purpose flour
1/8 teaspoon baking powder
Dash of salt
|