|
November 8th is National Cappuccino Day, a milk-frothed, espresso-based beverage that has been widely known in the U.S. only since the 1990s.
Everything you need to know about cappuccino follows, but first, for your consideration:
> The year’s 25 coffee holidays
> The different types of espresso drinks.
> The history of espresso.
> The different types of coffee.
> The history of coffee
> The difference between cappuccino and latte is below.
THE COMPONENTS OF CAPPUCCINO
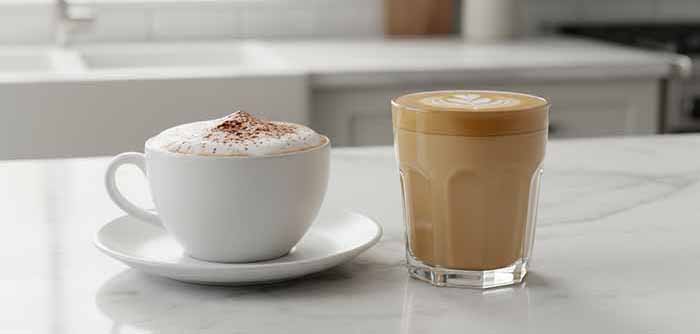
Cappuccino is an espresso-based drink topped with hot milk and milk foam (photo #1). Sometimes there is a sprinkle of cinnamon or cocoa powder.
Because of the technology needed to make the espresso and foam the milk, cappuccino is not an ancient drink: It is little more than hundred years old.
Before there was cappuccino, there had to be espresso.
While modern coffee culture has been around since the 15th century (the history of coffee), it took a few more centuries for espresso to appear.
The espresso coffee machine was invented in Italy; the first patent was filed by Luigi Bezzera in 1901.
Espresso grew in popularity, and improvements were made to the original machines. The machines were complicated and bulky, thus limited to cafés with trained baristi. Sitting at a café, conversing or reading with an espresso, cappuccino or latte, became a leisure activity.
The first record of the term “cappuccino” dates to the 1930s [source].
It seems to have been served Viennese style, topped with whipped cream and cinnamon or chocolate shavings.
After World War II, the development of better and more widely-available espresso machines created a thick crema on the top of the espresso (which was and is drunk black). From there, a the leap to foamed milk occurred.
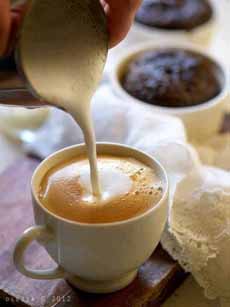
The stage was set for the modern cappuccino, a base of espresso and crema, topped with one-third steamed and frothed milk, in a steam-heated porcelain cup (photo #2).
Espresso machines were developed with built-in steam arms to easily steam and froth milk in small pitchers. Today, with improvements in technology, every home with $100 to spare can have a basic espresso machine with a frothing arm.
CAPPUCCINO: A BREAKFAST DRINK
In Italy, cappuccino is traditionally a breakfast drink, often eaten with a croissant or a breakfast pastry. Casually, it is referred to as cah-POOCH, as in un cappuch, per favore.
Generally, Italians do not drink cappuccino after 11 a.m. But beyond Italy, anything goes. We personally enjoy cappuccino as comfort food whenever we want milky, foamy coffee. On some diet days, we can drink three or four!
Since that can be a pricey habit at coffee bars, we have a Nespresso espresso machine.
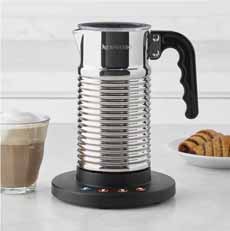
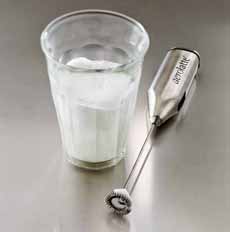
We also have a separate milk frother from Nespresso, called the Aeroccino (photo #3). For a modest investment, there are simple frothing wands from Aerolatte (photo #4) and other manufacturers.
CAPPUCCINO COMES TO AMERICA
While cappuccino spread throughout Europe, Australia, South Africa, South America, it was limited to the more cosmopolitan regions of North America in the 1970s and 1980s, until the mid-1990s.
Then, coffee bars began to spring up everywhere, serving espresso, cappuccino, latte and other Italian coffee-based drinks and espresso-based drinks.
HOW CAPPUCCINO GOT ITS NAME
Cappuccino takes its name from the order of Franciscan Friars Minors, nicknamed “cappuccini” (Capuchin monks) from their hooded frocks (cappuccio means hood in Italian, but it is particular the reddish-brown color of the frock that engendered the name).
There is a myth that a 17th century Capuchin monk, Marco d’Aviano, invented cappuccino after the Battle of Vienna in 1683, and that it was named after him.
This is as much a myth as the invention of the croissant to honor Viennese victory in that same battle (history of the croissant). Both croissant and cappuccino are 20th century creations.
|