|
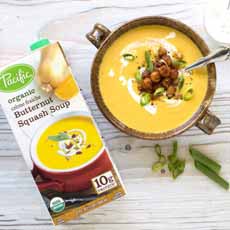
3. PACIFIC FOODS ORGANIC VEGAN STOCKS
No slouch, Pacific Foods has also turned out two tomato stocks one-cup single serve sizes. We like them for both cooking and a low-calorie pick-me-up drink.
Stepping away from the cream in the previous variety, these tomato-based vegan stocks have just 40 calories per eight ounces:
Organic Tomato & Red Pepper Stock Single Serve
Organic Tomato Stock Unsalted Single Serve
Use them to add flavor and depth to your rice, grains, or soups. Or, instead of a cup of coffee, heat the contents in the microwave for a cup of veggie broth.
We especially like drinking the Tomato & Red Pepper Stock, a blend of tomatoes, red bell peppers, roasted red bell peppers, garlic and onion. The Tomato Stock Unsalted is simply tomatoes and water.
What will Pacific Foods launch next? Whatever it may be, we look forward to it.
Stock & Broth: The Difference
The difference between a stock and a broth is the seasoning. Stock is not seasoned; it’s an unfinished product that is used an ingredient in another dish. For example, stock is used to make gravy (beef stock is use used for au jus), marinades, risotto, sauces and other soups.
So, if you’re using stock, you’ll need to add salt to your desired level. Broth already contains salt (however, Pacific’s Tomato & Red Pepper Stock does have some sea salt).
Broth is a thin soup is made from a clear stock foundation. The terms bouillon and broth are used interchangeably. However, a bouillon is always served plain (with an optional garnish), whereas broth can be made more substantive with the addition of a grain (corn, barley, rice) and vegetables.
Here are the related types of soups, including consommé and velouté.
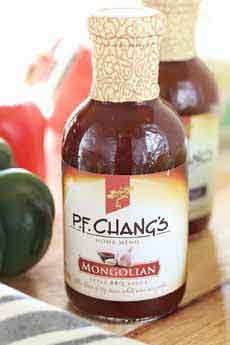
3. P. F. CHANG’S MONGOLIAN-STYLE BARBECUE SAUCE
We’re not fans of most barbecue sauces: too sweet, not complex enough.
But P.F. Chang’s Mongolian Style BBQ Sauce is deep and flavorful, made with smoked black pepper and soy sauce, in addition to conventional BBQ sauce ingredients like molasses and garlic.
You can use it for everything from marinades to a finishing sauce.
|