|
In the 15 years that we’ve been publishing THE NIBBLE, slab pies have been under the radar. They didn’t even make it into the different types of pies collection in the early editions of our Pie Glossary.
Slab pies have been getting a bit of play lately, but when did they originate? We found a recipe in our Mom’s recipe box that dated back to the 1950s.
Surely, they’re older than that. But try as we might, we could find no history of slab pie online. If you have a reference, please let us know.
National Pie Day is January 23rd. February is Great American Pie Month. National Apple Pie Day is May 13th.
> The recipe for Candy Apple Slab Pie is below.
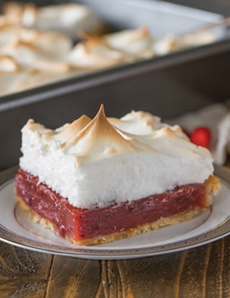
> So is a recipe for Cranberry Meringue Slab Pie.
> Plus, links to even more delicious slab pie recipes.
> The history of pie.
> The different types of pie and pastry.
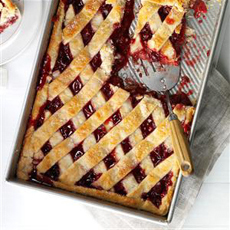
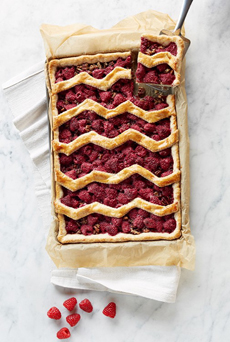
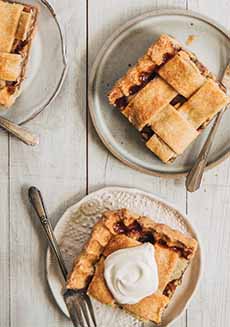
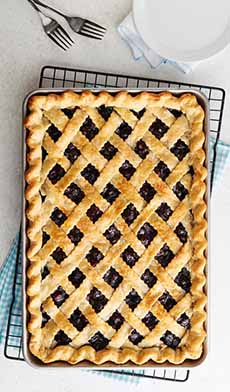
WHAT IS A SLAB PIE?
A slab pie is a shallow pie that’s baked in a jelly roll pan or a rimmed baking sheet. It has a much higher crust-to-filling ratio than a standard pie, so it’s definitely for the crust-loving crowd (or the hand pie-loving crowd).
But there’s another reason to make a slab pie: It stretches pricey ingredients like fresh fruit and feeds quite a few more people than a standard 9-inch pie.
In fact, it’s almost as much as two pies!
Nor do you need to roll out two sets of crusts for two pies. Just roll out one crust and make a streusel top if you don’t want to roll out a top crust—although two crusts enable people to eat their slices like a hand pie.
Of course, you can plate it like a conventional slice of pie and top it with ice cream or whipped cream.
You can use any filling in a slab pie; but anticipating the holidays, we have two cranberry recipes below (plus links to other recipes).
RECIPE #1: CANDY APPLE SLAB PIE
In this recipe from McCormick, prep time is 25 minutes, cook time is 40 minutes. The recipe is faster to make using purchased crusts. To make crusts from scratch, see the recipes below.
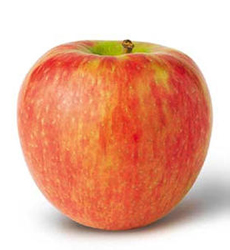
This recipe is called “candy apple” because of the red food coloring. Leave it out for a conventional apple slab pie.
You can serve the pie plain, à la mode, with whipped cream, crème fraîche, or mascarpone.
Another favorite of ours: sour cream with a bit of cinnamon and a pinch of sugar. The tartness is a nice contrast to the sweetness of the pie.
Ingredients For 16 Servings
2 packages (14.1 ounces each) refrigerated pie crusts
(4 crusts), divided
2 cups sugar
1/4 cup cornstarch
1 tablespoon ground cinnamon
8 peeled, thinly sliced Fuji apples (substitute McIntosh or any sweet red apple with a bit of acidity)
50 drops red food color
Preparation
1. PREHEAT the oven to 400°F. Bring the pie crusts to room temperature according to the package directions.
Unroll the pie crusts and press two of them onto the bottom and sides of a 13×9-inch glass baking dish. Press together the seams of the overlapping crusts in the middle of the baking dish to seal.
2. MIX the sugar, cornstarch, and cinnamon in a large bowl. Add the apples; toss to coat well. Add the food color; toss to coat well.
Spoon into the pie crust and top with the remaining 2 crusts. Pinch the edges of the top and bottom crusts together to seal.
Cut small slits in top crust (you can make them artistic; see this photo and this one).
3. BAKE for 35 to 40 minutes or until the crust is golden brown and the filling is bubbly. Cool on a wire rack.
|