[1] A slice of classic lemon meringue pie. Here’s the recipe (photo © IncredibleEgg.org).
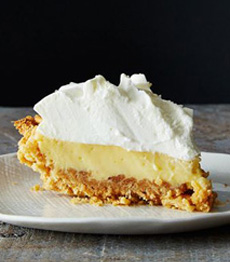
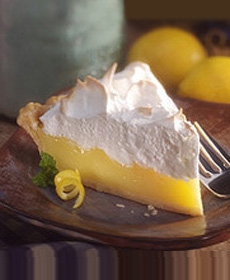
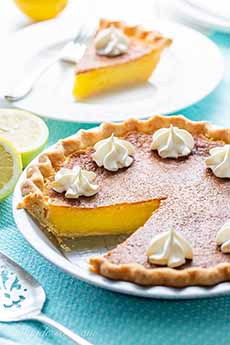
[2] The Atlantic Beach Pie variation substitutes a crunchy saltine crust, and whipped cream for the meringue. The original recipe from Bill Smith of Crook’s Corner is below (photo © Crook’s Corner | Our State magazine).
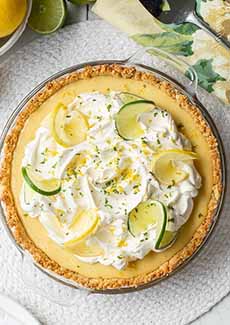
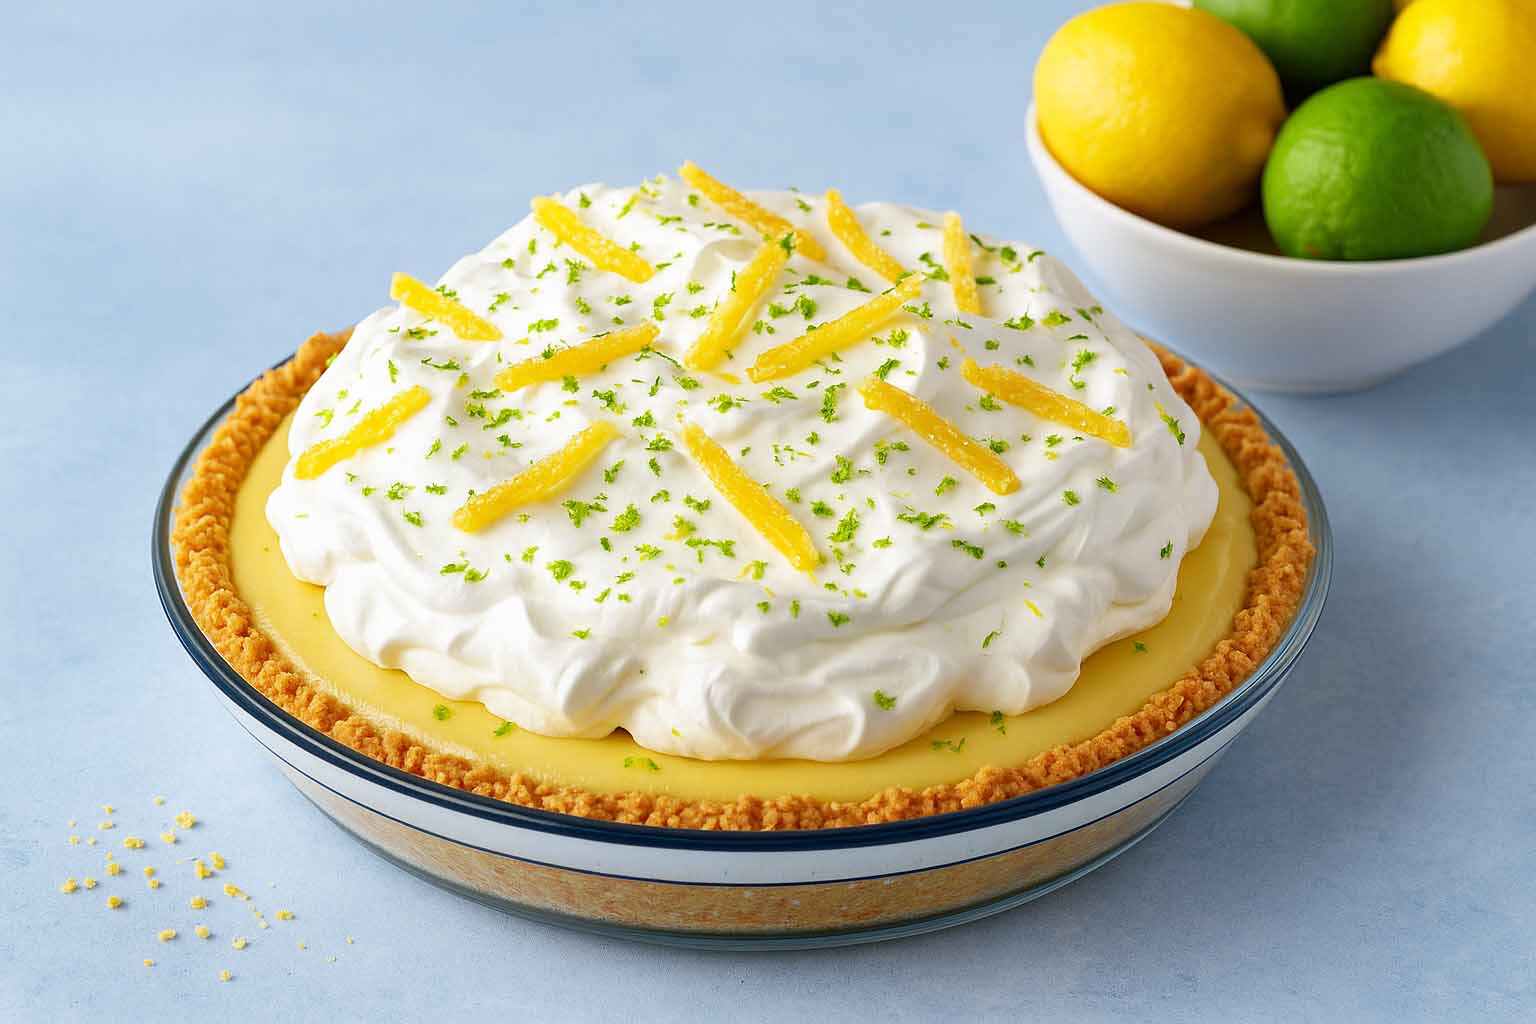
[3] Subsequent cooks have toyed with the recipe, adding different garnishes like lemon and/or lime zest and wheels of lemon and lime. We aren’t keen on garnishes that can’t be eaten by most people [why waste food?], so we prefer candied lemon or lime peel. It’s very easy to make, and one of our favorite candies. Here’s the recipe. Also see photos #6 and #7.
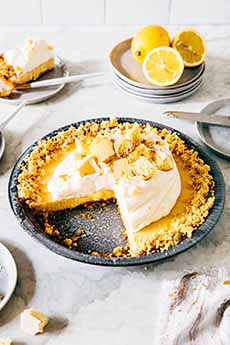
[4] Some bakers vary the crust, using Ritz crackers for less saltiness. In the version above, Michelle Lopez of Hummingbird High uses lemon biscotti and crumbles extra biscotti on top. Here’s the recipe (photo © Hummingbird High).
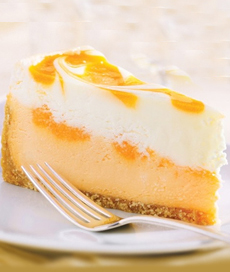
[5] If you’re a lemon pie fan, don’t stop trying new recipes. Chess pie is a lemon custard pie baked in an all-butter pie crust. Here’s a recipe (photo © Saving Room For Dessert).

[6] Use candied lemon peel to garnish many desserts. We also enjoy it with an espresso. You can dip the candied peel in chocolate, too. Here’s the recipe (photo © Ami Fruits | Paris Gourmet).
|
August 15th is National Lemon Meringue Pie Day, celebrating one of America’s favorite pies. We’re celebrating with an Atlantic Beach Pie, a variation that originated at the Atlantic shore of North Carolina.
> The recipe follows the history of Atlantic Beach pie.
> The history of pie.
> The different types of pie: a photo glossary.
> The year’s 31 pie holidays.
> The difference between pies and tarts.
> The history of lemons.
> The different types of lemons: a photo glossary.
THE HISTORY OF THE ATLANTIC BEACH PIE
Lemon-flavored custards, puddings and pies date to the Middle Ages, which concluded in the 15th century. Meringue was perfected in the 17th century.
The modern lemon meringue pie, which inspired the 21st-century Atlantic Beach pie, is a 19th-century recipe, attributed to Alexander Frehse, a baker in the Swiss canton of Romandie. By the late 19th century, the dish had reached the U.S. and achieved popularity.
It combines a lemon custard single crust pie with meringue, the fluffy topping made from egg whites and sugar, baked on top. Here’s the classic lemon meringue pie recipe.
Fast-forward a century to Atlantic Beach Lemon Pie, a Southern specialty from the beaches of North Carolina.
Like the lemon meringue pie, the Atlantic Beach pie has a lemon curd filling. But instead of the traditional pie crust (usually a flaky crust but some recipes use a shortbread or a graham cracker crust), the Atlantic Beach pie uses something evocative of the salty ocean: crushed saltine crackers (some recipes use Ritz Crackers).
Instead of the meringue top, Atlantic Beach pie has whipped cream sprinkled with coarse salt.
The recipe was developed by Bill Smith, then chef at Chapel Hill, North Carolina.
As a child in the 1950s and 1960s, Bill, who grew up near the North Carolina coast, had vacationed in Atlantic Beach, North Carolina, where local tradition was that only citrus-based desserts could be safely eaten after eating seafood.
In fact, some coastal seafood restaurants offered lemon meringue pie as their only dessert.
Bill became a chef, and was working at Crook’s Corner in Chapel Hill, North Carolina when asked to develop a dessert for a 2011 Southern Foodways Alliance.
He developed a pie inspired by the lemon meringue pies of North Carolina’s seafood restaurants, changing the crust and the topping.
Chef Bill added his own touch, substituting whipped cream for the meringue topping.
Chef Bill has been generous with his recipe. We encountered this recipe in OurState, magazine in Greensboro, North Carolina, whose editor asked him to write about it. Here’s the original article.
A bit of biography: Bill was recognized by the James Beard Awards as a finalist for Best Chef Southeast in 2009 and 2010. He retired from Crook’s Corner in 2019 after almost 30 years, to focus on writing and other food-related activities. Here’s more about him.
The restaurant closed in 2021, a victim of the Pandemic.
&nbps;
It’s Not Like Key Lime Pie
Some recipe authors refer to Atlantic Beach pie as “like Key lime pie.” It isn’t.
While both pies have a citrus-based filling made with eggs, Key lime pie typically uses sweetened condensed milk. The latter creates a creamier filling.
RECIPE: ATLANTIC BEACH PIE
Ingredients For The Crust
1½ sleeves of saltine crackers
1/3 to ½ cup softened unsalted butter
3 tablespoons sugar
Ingredients For The Filling
1 can (14 ounces) sweetened condensed milk
4 egg yolks (tip: eggs separate more easily when cold)
½ cup lemon juice* (about 4 juicy lemons) or Key lime juice (16 Key limes, or substitute juice from 5-6 regular limes)
Ingredients For The Garnish
Whipped cream
Coarse sea salt (especially black lava or pink salt like alea for contrast)
Preparation
1. PREHEAT the oven to 350°F. Place the crackers in a plastic bag, seal and crush crush with a rolling pin into tiny, flaky pieces. You will have about 2½ to 3 cups of cracker crumbs. Do not use a food processor or you will end up with cracker dust that doesn’t work.
2. ADD the sugar, then knead in the butter until the crumbs hold together like dough. Press into an 8-inch pie pan. Chill for 15 minutes, then bake for 18 minutes or until the crust colors a little. While the crust is cooling…
3. BEAT the egg yolks into the milk, then beat in the citrus juice. It is important to completely combine these ingredients.
5. POUR into the shell and bake for 16 minutes until the filling has set. The pie needs to be completely cold to be sliced. Serve with fresh whipped cream and a sprinkling of sea salt.
[7] Lemon peel makes an attractive and sweet-tart garnish. Make extra to serve with coffee (A.I.photo).
|