Try your hand at latte art. Here’s a video showing how to create a jack o’ lantern in milk foam (photo Fig & Olive | Facebook). Or, make a latte ghost.
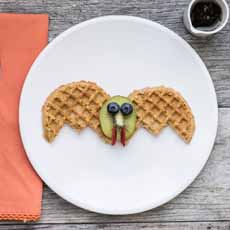
How can you make breakfast more Halloweeny? Turn toaster waffles into bats (photo Good Food Made Simple | Facebook).
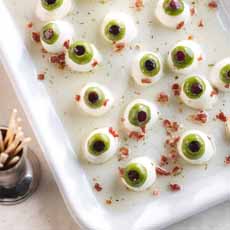
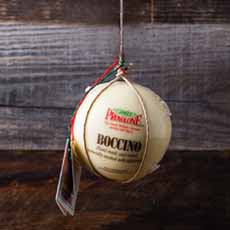
[3] Mozzarella eyeball snaks, made with bocconcini (bite-size balls) and olives (photo courtesy Bel Gioioso):.

[4] Vampire ice cream sundae, with strawberry topping, mini marshmallows and chocolate chip eyes (photo Hannah Kaminsky | Bittersweet Blog). |
|
DID YOU KNOW…
Halloween, short for All Hallows’ Evening, is celebrated on the evening of October 31st. It evolved from the festival of Samhain (sah-WEEN), celebrated by ancient Celts at the end of the harvest, a time to prepare for winter.
Samhain marked the end of the “lighter half” of the year and beginning of the “darker half.” The Halloween colors of orange and black represent the lighter side and the darker side.
The Celts believed that on October 31st, the boundaries between the worlds of the living and the dead overlapped and the deceased would come back to life and cause havoc, including sickness and damaged crops.
To avoid the spirits and ghosts that roamed the countryside on October 31st, people began to wear masks and costumes—to mimic the spirits and avoid being recognized as human. To keep spirits and ghosts from their home, they placed candles in their windows, using hollowed-out turnips and other vegetables as the holder, or jack o’ lantern.
The festival of Samhain would frequently include celebratory bonfires. The fires attracted insects, which attracted bats. Thus, bats became integrated into the holiday.
Around 600 C.E., Christian missionaries replaced the pagan festival of Samhain with All Saints Day, also called All Hallows Even (even means evening).
The name Halloween (or Hallowe’en) first appears in 16th-century Scotland, evolving from All Hallows’ Eve.
BUT MUCH OF THE MODERN CELEBRATION CAME FROM AMERICA
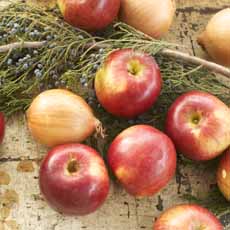
Carving pumpkins into jack-o-lanterns, trick-or-treating, costume parties and visiting “haunted houses”—not to mention pranking—evolved in the U.S. Pumpkins, a hardier, new world fruit (yes, a fruit), replaced the smaller turnips used in the Old Country.
It began with 19th-century Irish and Scottish immigrants who brought the tradition over. In the late 20th century, the “holiday spirit” spread to other western countries, including Australia, Canada, Ireland, New Zealand, Puerto Rico and the U.K.
> More history of Halloween.
LEADING UP TO THE BIG DAY
No matter how you plan to celebrate Halloween, you can serve little touches of the holiday for the week prior to the event.
Halloween is too much fun to wait for one day of celebration. You don’t have to be a kid to want an entire Halloween Week.
Cut marshmallows into ghost shapes, or paint jack o’lantern faces on them, and float them on hot chocolate.
Use a squeeze bottle of ketchup to put pumpkin faces on fried eggs.
Make bat waffles (photo #2).
Try your hand at latte art. Check out these videos for jack o’lantern and ghost art.
Dribble strawberry dessert topping from the rim of a “bleeding” glass of milk or other beverage.
Turn deviled eggs into rotten deviled eggs, with some food coloring (recipe).
Put candy eyeballs on any dessert.
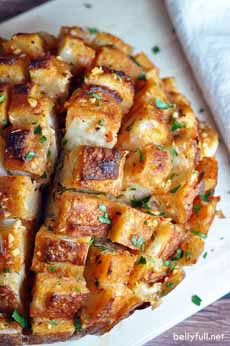
Wrap strips of refrigerator rolls around hot dogs and other foods to “mummify” them (recipe #1) and #2.
Coil dough into snakes (recipe)
Turn anything round into an eyeball (photo #3).
Put black olive spiders on mini pizzas, as sandwich garnish, etc.
Simply look at everything you’re planning to serve, and see how you can tweak it for seasonal fun.
If you need inspiration, check online sites like Pinterest or Google Images to see what others have done.
> The history of Trick or Treating.
> The history of the jack-o-lantern.
> Fun Halloween food recipes.
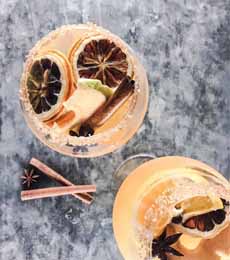
> Halloween cocktail recipes.
|