|
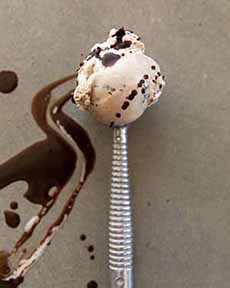
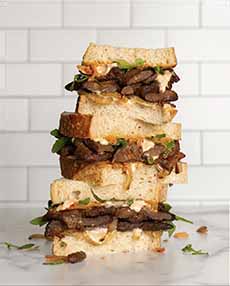
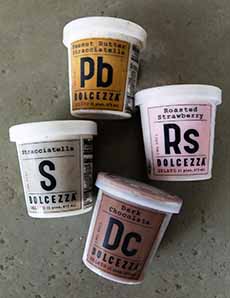
[1] A scoop of Hazelnut Crackle gelato, a limited edition (all photos © Dolcezza Gelato).
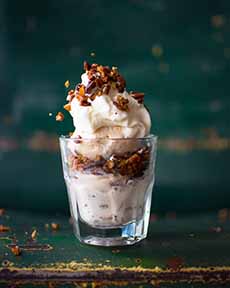
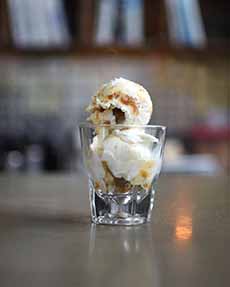
[2] A sundae with another limited edition, Rye Whiskey Pecan Praline ice cream.
[3] How many pints can you eat in a day? A week?

[4] Can you eat a three scoops on a cone? Here, Mascarpone & Berries, Espresso, and Roasted Strawberry).

[5] Lemon Ricotta Cardamom, another limited edition.
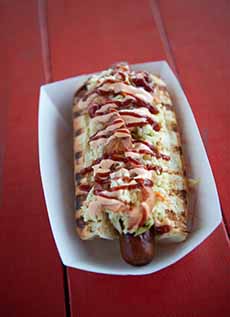
[6] Coconut Dulce de Leche “on the rocks”—in a rocks glass (yes, it’s a limited edition).
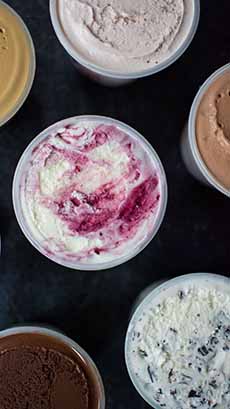
[7] Open pints, clockwise from top: Roasted Strawberry, Swiss Chocolate, Mint Straciatella, Dark Chocolate, Salted Caramel. Center: Mascarpone & Berries.

[8] Mascarpone and Berries. Mascarpone, the fresh cheese that adds such creaminess to tiramisu, makes this flavor stand out.
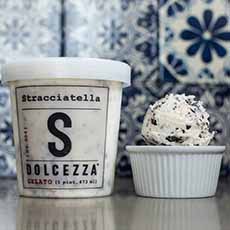
[9] Straciatella, the Italian version of chocolate chip, with chocolate flakes instead of chips.
|
|
For National Ice Cream Month, July, it figures that at least of one of our Top Picks Of The Week should be an artisan ice cream brand. This year, the wonderful ice cream we’ve chosen is from Dolcezza Gelato (the name means sweetness).
Before we proceed with the glories of Dolcezza Gelato (which you can see in the photos), there’s an editorial note:
Dolcezza isn’t classic Italian gelato. It’s superpremium ice cream.
Why not call it ice cream? It was inspired by a gelato shop in Argentina (more about that later).
Call it whatever; just call it delicious.
Below:
> The difference between ice cream and gelato.
> Dolcezza Gelato, our top pick of the week.
Elsewhere on The Nibble:
> The year’s 50+ ice cream and frozen dessert holidays.
> The history of ice cream.
> The different types of ice cream and frozen desserts: a photo glossary.
A note: Why is March 24th “European Gelato Day” since gelato is an Italian creation?
According to Abacus, it was created as a pan‑European initiative rather than as a national Italian observance. In other words, it’s a Europe-wide celebration meant to promote artisan gelato as a traditional food craft across Europe, not only in Italy.
Even though gelato is strongly identified with Italy, the modern artisan gelato industry (shops, training, ingredient suppliers, competitions) is deeply transnational in Europe—especially in countries like Germany, Austria, Spain, France, and others where Italian-style gelato culture is widespread. (In our opinion, “European Gelato Day” should have been named “Artisan Gelato Day” instead.)
It was officially established by the European Parliament in 2012. Here’s more about it.
A BRIEF COMMENTARY ON GELATO IN THE U.S.
Around the turn of the century (the 21st), the gelato craze hit America.
It was begun, as we recall, by entrepreneurs who encountered gelato on trips to Europe and South America, and wanted to recreate those luscious flavors back in the U.S.
As the companies got media exposure and word of mouth for their delectable products, larger ice cream producers wanted in on the action.
Some of the players made authentic gelato; the differences are in the next section.
Others used the name for products that were actually ice cream.
It was all delicious, so no one complained to the FDA. But for the sake of fact, we’re going to tell you the difference.
If you prefer, you can skip to the Dolcezza Gelato section below.
THE DIFFERENCE BETWEEN ITALIAN GELATO AND ICE CREAM
Gelato is Italian-style ice cream. It was invented in the 1500s, two centuries before Thomas Jefferson returned from Europe with America’s first machine to make the frozen dessert (the history of ice cream).
Gelato comes from the Italian word for “frozen.” (congelare means “to freeze,” congelato is “frozen”).
There are two main differences between gelato and American ice cream.
One is the fat content. The less fat, making the flavors more intense the flavor.
The other is the overrun, the amount of air whipped in as the product is churning). Less overrun makes gelato more dense. (Overrun is why popularly-priced ice cream brands like Breyers have a lighter texture than superpremium brands like Häagen-Dazs).
But mostly:
It’s Mostly About The Fat
Fat coats the tongue and its taste buds, and diminishes ability to taste the fruit, chocolate, or other flavor. Classic gelato, with much less fat, delivers more intense flavor.
“Classic” Italian gelato typically has 4% to 8% butterfat, although Ciao Bella Gelato, the first major U.S., brand, has 12% butterfat. Per the FDA’s Standards of Identity, ice cream must have a minimum of 10% butterfat, and superpremium ice creams have a butterfat content of 15% to 18%.
Gelato recipes tend to have a higher proportion of flavoring than ice cream. This also contributes to heightened flavor.
Gelato is made with whole milk and a much smaller amount of cream, the reason for the lower fat levels. In the U.S., it’s the opposite.
However, U.S. ice cream industry professionals dispute this differential because there is no U.S. Standard of Identity for gelato (here are the Standards of Identity for ice cream).
In addition, as there is no one style of ice cream in America, there is no longer one style of gelato in Italy. Over time, the style of gelato has evolved significantly by region.
In the south of Italy, particularly in Sicily, gelato is made with milk and no egg yolks, and sometimes includes a thickener such as cornstarch. This is the “classic” style, old school.
In central Italy, for example, in Tuscany, gelato is made from a milk and egg custard. In the north, it is very rich, as northern Italians use cream and eggs to make their gelato—a French custard-style.
America, a culture with a fondness for “the more fat the better,” agrees with Tuscany. So the fat levels of most American gelato brands crept up and up, until they reached the richness levels of superpremium ice cream.
The Overrun
Unlike ice cream, gelato machinery whips almost no air into the product (i.e., much less overrun), resulting in a dense and more intensely-flavored product. For example, the American brand Ciao Bella Gelato contains 20% air by volume (overrun) compared to 60% in most American brands.
No matter what the recipe, all gelato has little or no overrun. The air that is whipped into lower- and medium-end American ice cream brands gives them a lighter texture. As a result, gelato is denser than traditional American ice cream, and this density helps to produce the more heightened flavor.
Are you bored? Confused? At the end of the day, while the differences between gelato and ice cream are not observed religiously in the U.S., they’re no longer observed in Italy, either.
And whatever the fat content, all comers are delicious.
DOLCEZZA GELATO, OUR TOP PICK OF THE WEEK
Dolcezza Gelato was inspired by a trip to Buenos Aires in 2000, and a visit to the popular gelato shop, Freddo (if you’re interested, Freddo is nowfranchising).
Dolcezza founders Robb & Violeta, captivated by the flavors at Freddo, returned to the U.S. with a desire to make gelato. They opened their door in the upscale Georgetown neighborhood of Washington, D.C. in July 2004 (National Ice Cream Month).
They had never made gelato, but they knew that by using the best ingredients and artisan techniques, they would create something good.
What became a gelato destination has expanded to seven locations in the D.C. area, and Dolcezza pints are now carried by Whole Foods Markets.
Dolcezza Gelato is made with whole milk and heavy cream, like most superpremium ice creams. You’ll also see nonfat dry milk powder on the ingredients label of Dolzezza and other brands.
The dry milk powder is used to increase the solids content of the ice cream and give it more body.
(And it may give some justification to some ice cream enthusiasts that it is also an important source of protein that improves the ice cream’s nutrition.)
Dolcezza Gelato Flavors
We recently indulged in pints of Dark Chocolate, Espresso, Mascarpone & Berries, and Peanut Butter Straciatella.
Except for the Peanut Butter Straciatella—which is delicious but more of what we’d call a “fun flavor” with crunchy flakes of chocolate—there is an elegance on the palate to the flavors.
Richness and intensity of flavor combine into a sublime experience. You’ll want more than one pint from the current lineup:
Butter Pecan
Dark Chocolate
Espresso
Mascarpone & Berries (our favorite!)
Milk Chocolate
Peanut Butter Stracciatella
Roasted Strawberry
Salted Caramel
Stracciatella
Vanilla Bean
For the more fanciful flavors, you’ll need to head to a shop in the D.C. area.
GET YOUR DOLCEZZA GELATO
Head to Whole Foods nationwide, or track down another store near you with the store locator.
Order online from Goldbelly.
The website is DolcezzaGelato.com.
|