|
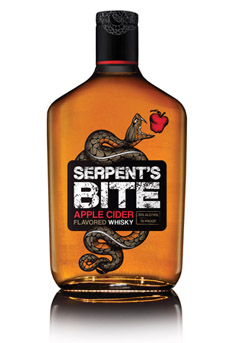
Flavored shots are trending, and our favorite this season is Serpent’s Bite Apple Cider Flavored Whisky.
It does for whisky what so many distillers have done for vodka: infuses a delectable layer of flavor.
And Serpent’s Bite is the flavor of fall. It will appeal to fans of whisky and hard apple cider alike.
It’s very smooth with a fine balance of sweet, crisp apple cider flavors with the whisky.
The latter is distilled from corn and rye, which are blended during distillation and then infused with the apple cider flavors.
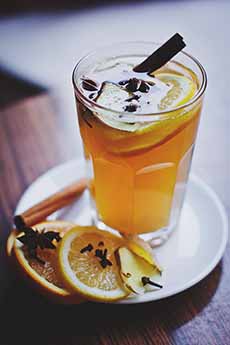
Serpent’s Bite was made to be enjoyed in a neat shot, straight up with a slice of apple, or in a mixed-based shooter.
At 35% ABV/70 proof, it’s a bit less alcoholic than your typical shot.
It’s available in 50 ml (MSRP $1.89), 750 ml (MSRP $15.99) and 1 liter bottles (MSRP $18.99).
If you want to know anything else about it..hmm.
The only things on the one-page website are links to Facebook page, Instagram and Twitter feeds, the latter promoting the hashtag #BiteTheNight.
Perhaps the only thing to say is: It tastes really good and would be a swell gift for the right folks.
Spirits Marque One, producer of Serpent’s Bite, is part of Constellation Brands, the holdings of which comprise the world’s largest producer of wine, including Manischewitz and Robert Mondavi.
Other alcohol brands among the hundred-plus include Corona beer and Svedka vodka.
WHISKY VS. WHISKEY
Whisky is the Scottish spelling of whiskey.
The alternative spelling was chosen to differentiate the national product from Irish whiskey.
The “whisky” spelling is used in Canada, Japan and Wales, as well as Scotland.
In the United States, a 1968 directive from the Bureau of Alcohol, Tobacco and Firearms specifies “whisky” as the official U.S. spelling. However, it allows the alternative spelling, “whiskey.”
Most U.S. producers prefer to include the “e,” as do we. Without it, it looks like something is missing.
And another reason to keep the “e”: Irish whiskey predates Scotch whisky.
Check out this brief hhistory of whiskey.
Ironically, distillation was discovered in the 8th century in Persia—a country that has not permitted the sale and consumption of spirits since the 1979 Islamic revolution.
|
 br />
br />