|
June 13th is National Rosé Day. June 10th is National Portugal Day. So we’re giving a shout-out to Mateuse Portuguese rosé.
Rosé wine, created as a warm-weather drink (serve it chilled), has been enjoying a year-round renaissance.
The U.S. is now the world’s third largest producer**, and a proliferation of good rosé in 375ml cans makes it easy to have a glass anytime, without opening a large bottle (we’re currently buying four-packs of Bonterra cans).
Today, we’re highlighting the original rosé, created in Portugal in the middle of World War II (Portugal remained neutral in the war).
The wine is Mateus, pronounced ma-TAY-oos in Portuguese, called ma-TOOS by Americans.
It’s a must-try, very well priced at an SRP of $12.99 per 750 ml bottle (2019 vintage).
Discover more at MateusRose.us. Here’s the store locator.
WHAT IS ROSÉ WINE
In the history of wine, rosé is a newcomer. Rosé was created in 1942, when the founder of Sogrape* envisioned a new type of wine: light, fruity and slightly pétillant (fizzy).
He called it rosé for its rosy color, and gave it the brand name Mateus.
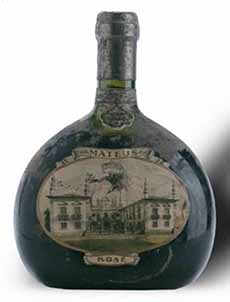
The original Mateus bottle (photo #2) was inspired by the flasks worn by the soldiers during the World War I.
Almost 80 later, Mateus is a global brand, present in more than 120 countries, with over a billion bottles sold to date.
Its fans include Queen Elizabeth.
Rosé Style
The new style of wine became popular quickly, and other vintners began to make it.
As the category grew, the style also became known as blush wine or pink wine (White Zinfandel, for example, a blush wine, is a rosé).
Mateus and most other rosé wines are dry. But just like white and red wines, they can be vinified to be sweet as well. There is a rosé style for every palate and food pairing.
Unlike grape varietals (such as Cabernet Sauvignon, Chardonnay, Pinot Noir, etc.), there is no rosé grape.
Rather, a rosé wine can be made from any red wine grape†. Most rosés are dry wines made from red wine grapes.
The pink color comes from limited skin contact with the red grape skins during vinification. Rosé’s color is actually an early hue of what would become red wine with longer skin contact.
Here’s more about how rosé is made.
MATEUS DRY ROSÉ 2019 VINTAGE
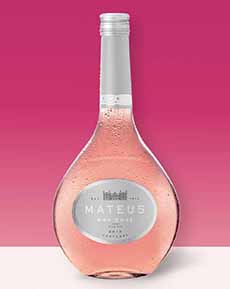
Recently updated, the new Mateus Dry Rosé is made from Baga and Shiraz grapes, and vinified to be drier than the original, fruitier version.
Inside the recently re-designed, stylish, gently curved bottle (photo #1) is a rosé with the lively flavors of red berry fruits, but more floral than fruity.
The bouquet has alluring floral notes.
It’s very slightly fizzy, fresh and well-balanced, dry but not bone-dry.
The experience: a delight whether at poolside, patio, picnic, apéritif, lunch or dinner.
Serve it chilled: The ideal temperature for rosé is between 46ºF and 50ºF.
Note that rosé is a wine that is meant to be drunk when it is released. Don’t store it with intent to age it.
ROSÉ WINE & FOOD PAIRINGS
Rosé goes with just about any food, except for heavy meats (beef, lamb, venison, e.g.). Serve it with simple preparations (no heavy sauces, e.g.).
Try it with:
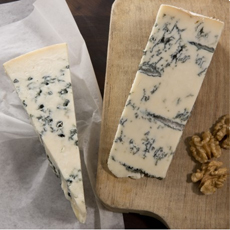
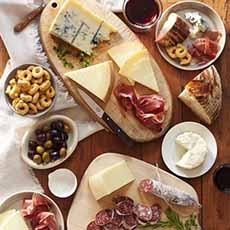
Cheeses
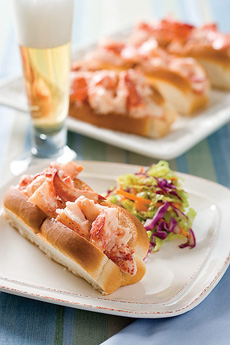
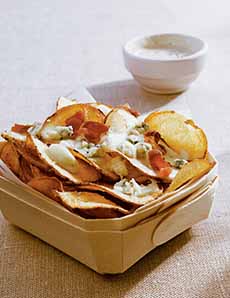
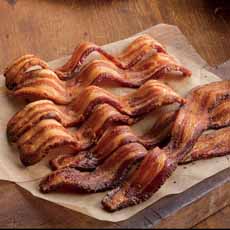
Charcuterie plates (photo #5)
Crudités
Dips (including hummus)
Fish and seafood, including raw fish (crudo, sashimi)
Grilled vegetables
Pastas with light sauces
Poultry, hot and cold
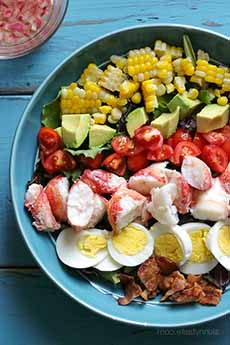
Salads
Sandwiches (try it with grilled cheese or turkey)
ROSÉ ARTICLES & RECIPES
The Best Foods To Pair With Rosé
Frosé: A Rosé Slushie For Cocktails & Dessert
Have A Rosé Wine Tasting
Rosé Sangria: Think Pink!
|