|
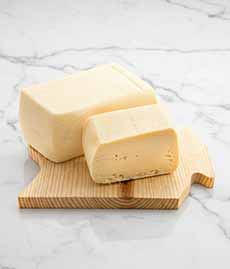
The original dragées* (drah-ZHAY) are sugar-coated almonds. Technically, the nuts are encapsulated in a hard-shell coating. English speakers call them Jordan almonds—not because they’re from Jordan (they’re from Spain). It’s a corruption of the French word for garden, jardin, which refers to the large variety of almonds). The almonds can also have a chocolate coating under the sugar. The key is the hard sugar shell.
In America, we see the word used to refer also to sugar panning, which creates what are known as panned products (photo #3). It’s not correct—they’re two different types of coating, dragées having a very hard (and potentially tooth-breaking) sugar shell and panned products having a softer chocolate shell.
Panning is one of the four† basic methods of coating chocolate onto a center (typically hard centers, such as nuts and crystallized ginger). In panning, chocolate is sprayed onto the centers as they rotate in revolving pans (think drums); cool air is then blown into the pan to harden the chocolates.
Sugar panning, or simply panning, adds a candy shell to candy centers or nuts. In addition to fine confections, popular candies that employ this process include M&M’s and jelly beans. Jelly beans use soft panning, while hard shells like M&Ms are examples of hard panning.
On a small scale (and before the Industrial Revolution), confections and nuts are coated on a pan on the stovetop; hence “panning.” Today, mechanical tumblers are used.
The centers can be rolled in cocoa powder or another coating before they harden.
THE HISTORY OF DRAGÉES
Panned confections are thought to have originated in ancient Rome, where honey-covered almonds were introduced by a Roman baker and confectioner named Julius Dragatus. His confections were called dragati and were served by nobility at weddings and births. When sugar became more readily available in the 15th century, the nuts were coated in sugar instead.
The technique of creating the dragée almonds and other products was perfected by the Pelino family in Sulmona, Abruzzo, Italy [source].
Confetti Mario Pelino is one of the oldest Italian confectioneries, founded in 1783 by Bernardino Pelino and located in Sulmona, Abruzzo, a region known for the production of Jordan almonds.
The term “Jordan” is most likely a corrupted version of the French word jardin, garden, indicating a cultivated rather than wild almond. In Italy, the hard sugar-coated almonds are called confetti.
RECCHIUTI CONFECTIONS MALTED DARK MILK REVOLUTION
One of our favorite chocolatiers, Recchiuti Confections, sent us a new product, called Malted Dark Milk Revolution. The confection looks like chocolate-covered macadamia nuts, but the centers are crunchy malted cookies (think malted milk balls) accented with fleur de sel. The centers are then coated with layers of dark milk chocolate (high-percentage cacao milk chocolate, typically 38% or more).
There’s no hard sugar shell, so they’re easy on the teeth.
Recchiuti calls these gourmet malted milk balls are a revolution because they use dark milk chocolate and an accent of fleur de sel, which provides a nice counterpoint to what in other hands can be a too-sweet confection.
For us, the concept of chocolate-coated malted milk centers has been around for a while, regardless of what type of chocolate or seasonings are added. So instead, we think of the name as a pun on the number of times the centers go around in the drum—from 20 to 60 “revolutions,” according to Recchiuti.
We immediately used the little bites:
With after-dinner espresso and coffee, instead of a cookie or a carré/napolitan of chocolate (they more than satisfy).
As a topper for ice cream and frozen yogurt—much more delicious than a maraschino cherry.
As a quick chocolate fix. (Full disclosure: We love good malted milk balls. Our favorites are these mint malt balls from Marich.
A YUMMY GIFT
Malted Dark Milk Revolution is a lovely small gift, especially for those who like the play of sweet and salty. It’s available in two sizes at Recchiuti.com: a 5-ounce box for $11.00 and 12-ounce box for $19.00.
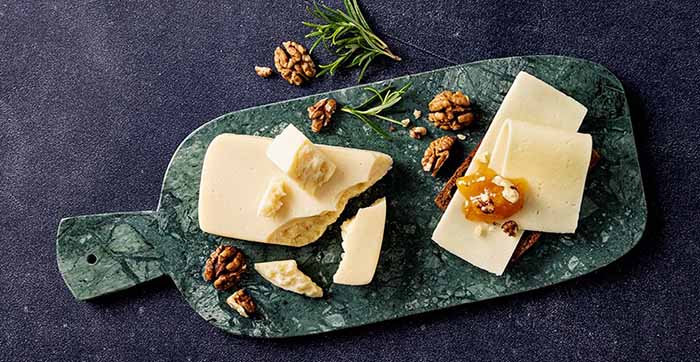
Recchiuti also has a sampler of panned products (called the Dragée Sampler) that we love for Mother’s Day and Father’s Day gifting, 12 ounces, $29.00. It includes Recchiuti’s heavenly Burnt Caramel Almonds, Burnt Caramel Hazelnuts, Peanut Butter Pearls, and Cherries Two Ways.
Learn more at Recchiuti.com.
|
|

[1] Jordan almonds, the original dragees (photo © Williams Sonoma).

[2] In the U.S., dragées typically refer to small, metallic gold, silver, or other color sugar balls used as decoration (photo © Pelino Confetti).
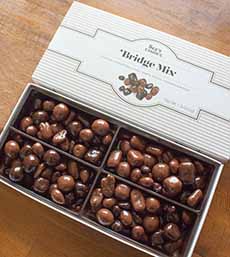
[3] Bridge mix is an old-fashioned example of panned nuts and dried fruits (photos #3 and #4 © See’s Candies).

[4] Panned products span everything from dried fruits and nuts to coffee beans, crystallized ginger and the malted ball centers, below.

[5] Sophisticated malted milk balls that multitask (photo © Recchiuti Confections).
|