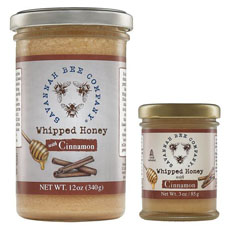
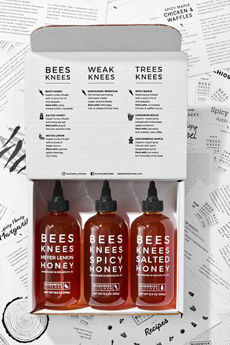
GIFTS OF THE DAY: Artisan Honey, Spicy Honey | ||||||||||||
| ||||||||||||
|
Permalink Comments off | ||||||||||||


FOOD 101: It’s Repeal Day, Drink Some Real Gin | ||||||
| ||||||
|
Permalink Comments off | ||||||


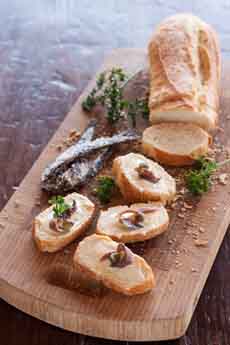
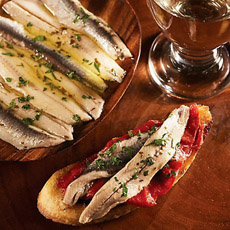
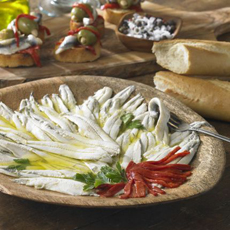
TIP OF THE DAY: Feast Of The Seven Fishes, Anchovies With Bread & Butter | ||||||||||||
| ||||||||||||
|
Permalink Comments off | ||||||||||||


RECIPE: Chocolate Chocolate Chip Gingerbread Cookies | ||||||
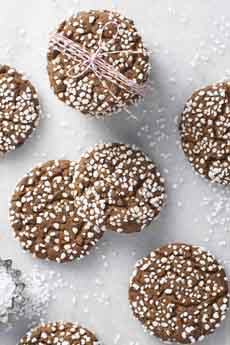
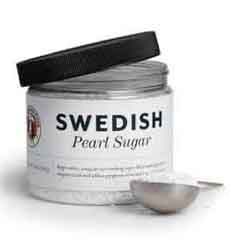
How can you improve gingerbread? Add chocolate chips, and a tablespoon of cocoa powder. Swedish pearl sugar adds a festive touch. The cookies are soft and chewy, and are a delight served warm from the oven. They’ll keep for several days in an airtight container. Prep time is 10 to 15 minutes, bake time is 10 to 12 minutes. RECIPE: CHOCOLATE CHOCOLATE CHIP GINGERBREAD COOKIES Ingredients For 30-32 Cookies 1. PREHEAT the oven to 350°F. Line two baking sheets with parchment paper, or grease the sheets lightly. 2. COMBINE the flour, baking soda, spices, salt, and cocoa. In a separate bowl, beat the butter with the sugar until light and creamy. Add the molasses and beat until combined. 3. BEAT in the dry ingredients, then stir in the chips. 4. SCOOP the dough a tablespoon at a time (a tablespoon cookie scoop works well here). Roll the top portion of each dough ball in the pearl sugar. 5. PLACE the unbaked cookies 1-1/2″ apart, sugar side up, on the prepared baking sheets. Bake for 10 to 12 minutes, until the cookie surface begins to crack. 6. REMOVE from the oven, cool on the pan for 5 minutes, then transfer the cookies to a rack to cool completely.
|
| |||||
|
Permalink Comments off | ||||||

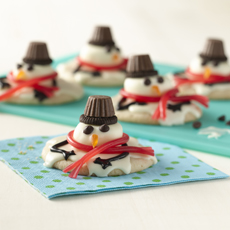
Cute Snowman Cake or Snowman Cookies Recipe | ||||||
| ||||||
|
Permalink Comments off | ||||||