[1] Tomato and burrata crostini (recipe below—photo courtesy Good Eggs).
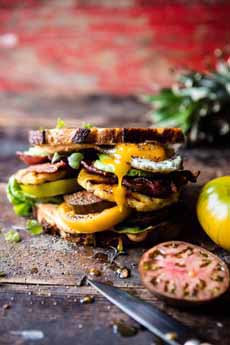
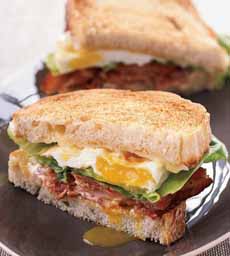
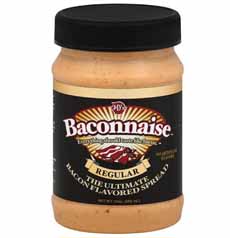
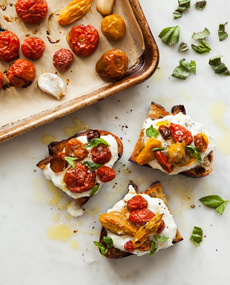
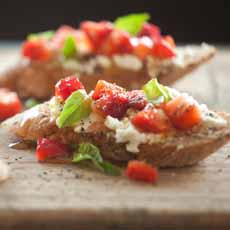
[2] Avocado and sliced egg crostini (photo courtesy Safest Choice).
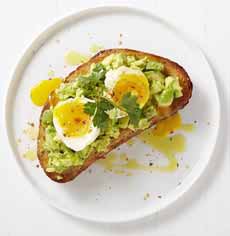
[3] Instead of breakfast grilled cheese, make skillet fondue (photo courtesy La Brea Bakery).
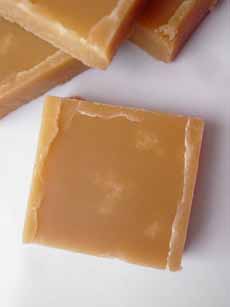
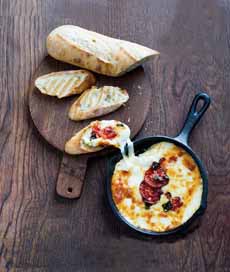
[4] Diced strawberries atop goat cheese (photo courtesy Whole Foods Market).
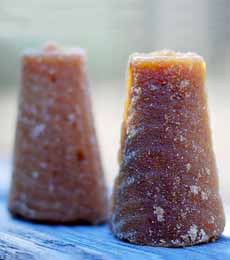
|
|
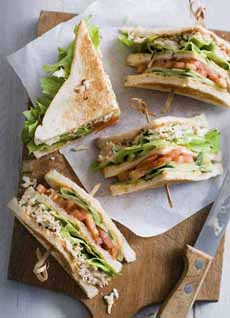
If you like to crunch on toast for breakfast, consider crostini: toast using Italian bread or a rustic loaf (peasant bread), topped with more interesting ingredients—or a combination of them—than American breakfast toast.
For those who think of crostini only as an accompaniment to a glass of wine break or cocktails, nota bene that it can be the main dish for breakfast or brunch.
It’s toast with toppings: cheeses, fruits, meats, seafood, spreads, vegetables.
Serve it with a side of fruit for breakfast.
Serve it with soup or salad for lunch.
INGREDIENTS FOR BREAKFAST OR LUNCH CROSTINI
You can choose sweet or savory…or one of each. Here are some ingredients that work for breakfast and lunch:
Cheese group: burrata or mozzarella, feta (crumbled, whipped), sliced cheese, spreadable cheese (Alouette, Boursin, cheddar, goat, ricotta); or mini grilled cheese tartines,
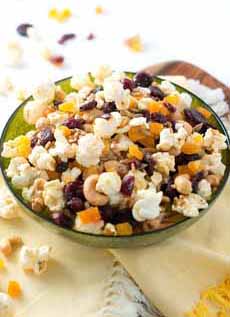
Fruit group: avocado (sliced or mashed), berries, citrus, fig, grapes, sliced drupes (stone fruits), watermelon (great with feta and basil),
Onion group: caramelized onions, onion relish, scallions, sweet onion.
Protein group: bacon, ham or prosciutto; scrambled or sliced eggs; sliced sausage.
Spreads: butter, cream cheese, hummus, jam, nut butter.
Vegetable group: cucumbers, radishes, sautéed mushrooms, spinach, tomatoes.
Garnishes: chile flakes, fresh herbs (basil is our favorite), granola, honey drizzle, lemon zest, maple syrup, nuts and seeds, olive oil drizzle, salsa.
Here’s the difference between crostini and bruschetta.
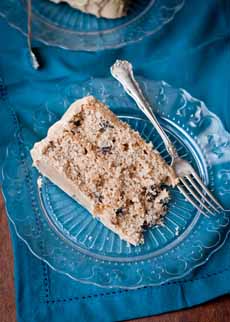
RECIPE: CROSTINI WITH BURRATA & SLOW-ROASTED TOMATOES
You can make the tomatoes a day in advance. Then, put the ingredients together in a few minutes.
Ingredients
2 pints cherry tomatoes (preferably mixed colors)
Garlic cloves*
Good olive oil
Sliced rustic bread (with a good crust)
8-ounce burrata (substitute mozzarella)
Fresh basil, torn or roughly chopped
Flake salt/coarse† sea salt, to taste
Preparation
1. PREHEAT the oven to 225°F. Spread the tomatoes and garlic cloves on a baking sheet and toss with a few tablespoons of olive oil.
2. BAKE for 2½ to 3 hours, or until tomatoes just begin to shrivel.
3. BRUSH the bread slices with oil, and toast or grill until golden brown. Rub with roasted garlic.
4. DIVIDE the burrata over toasts and top with tomatoes, basil, flaky salt, and another drizzle of olive oil.
__________________
*Since you’ll be roasting the cloves, you can roast a whole bulb’s worth and use the extra roasted garlic with salads, potatoes, grains, or spreads.
Coarse salt is a larger-grained sea salt crystal, with grains the size of kosher salt. The grains are crushed to make fine sea salt. Flake salt is naturally evaporated sea salt that forms snowflake- or pyramid-like grains. Examples include those from the Maldon River in England, Anglesey off the island of Wales, New Zealand, and Australia. When used as a garnish, coarse and flake salts provide a crunch. Check out the different types of salt.
|
|
FOOD 101: FRUIT GROUPS
Because we’re food geeks, we think of foods as part of their parent groups. We love to learn the relationships between plants, and how seemingly unrelated food plants can be close cousins.
That’s why you’ll often see the Latin taxonomy after the English name; for example, basil (Ocimum, basilicum family Lamiaceae).
The taxonomy of plants and animals was first developed by the great Swedish botanist, Carl Linnaeus and published in 1735 (the zoological component came later).
The nomenclature comprises seven main “ranks”: kingdom, phylum or division, class, order, family, genus, species. You studied it in 7th-grade biology.
To simplify the fruit category, here’s a chart of the main fruit groups—in English, as opposed to the Latin names.
Not only can it deepen your understanding of food; it’s a fun game to play as you wheel down the supermarket fruit aisle. Point at apples and say “pome,” point at peaches and say “drupe,” etc.
Well, it’s our idea of fun.
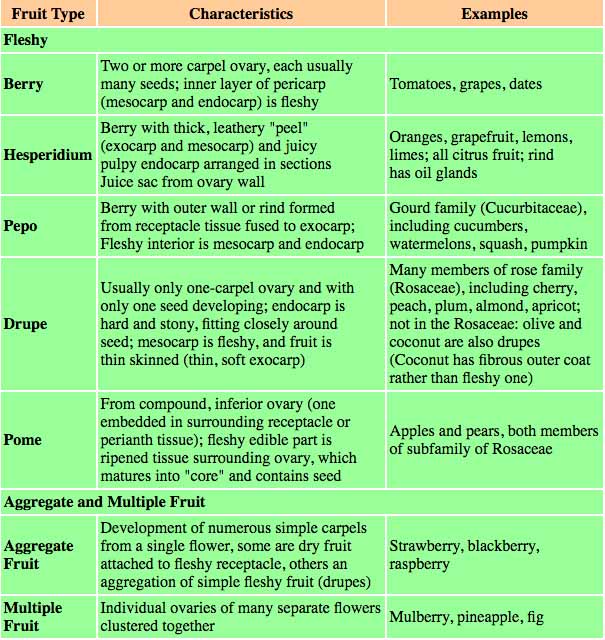
Chart courtesy College of William and Mary.
|