|

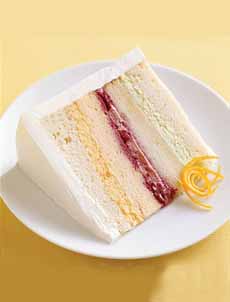
[1] A pumpkin naked cake with a filling of whipped cream and fresh raspberries (photo courtesy Driscoll’s Berries. [2] A white chocolate cake filled with whipped cream and chopped dried apricots. Here’s the recipe from Epicurious. [3] Chocolate cake with red velvet cake filling, based on cream cheese. Here’s the recipe from Cook The Story. [4] Three different fillings: key lime, raspberry and blood orange. Here are more from Brides.
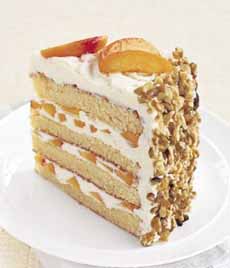
|
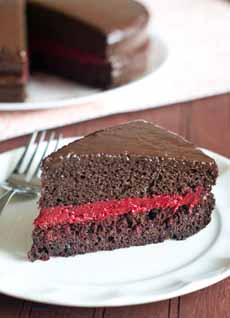
|
If you bake layer cakes, even only now and then, from box or from scratch, here’s an easy tip to make yours more special:
Add something fun and tasty to the filling between layers.
FOR MORE CAKE FUN, CHECK OUT ARE CAKE GLOSSARY
TYPES OF CAKE FILLINGS
Common cake fillings include:
Buttercream*
Cream cheese*
Custard
Ganache*
Jam
Lemon or other curd
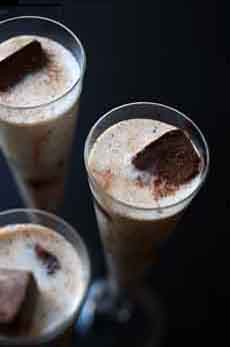
Whipped cream* with liqueur, nut-flavored buttercream or pure whipped cream
The asterisked* cake fillings are easier to flavor, with anything, from fruit to Nutella to rum.
Additionally, each filling can be made more complex complex with the addition of:
Citrus zest or peel
Dried fruits: berries, coconut, raisins, and others that complement the cake flavors
Crushed or sliced nuts
Extracts
Fresh fruits, diced or sliced
Fresh or dried fruits, soaked in liqueurs or spirits
Liqueurs or spirits (the difference is below)
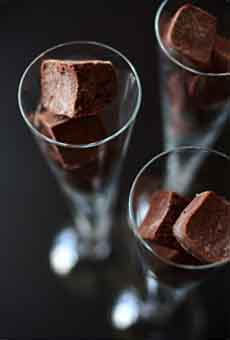
ADD SOME CANDY TO YOUR FILLING
You don’t have to be a kid to appreciate a bit of candy in your cake.
Candy: M&Ms, Reese’s Pieces, Heath Bar or Skor Bits, Red Hots, etc.
Chocolate: chips, chunks, curls (dark, milk, white)
Cake decorations: confetti, sprinkles, sugar pearls,
FILLING, FROSTING, ICING: THE DIFFERENCE
Filling goes between the layers of a cake. Each layer can have a different filling; for example, one layer of ganache and one layer of custard. The frosting of a cake can be used as the filling as well.
Frosting is used to cover the top and sides of a cake, and often as a filling between the layers. It is typically made from sugar plus a fat such as butter and/or milk or cream. Frosting is generally flavored with vanilla extract or other flavoring—cocoa powder, coffee, lemon, lime, orange, strawberry, etc. A vanilla frosting can be colored with food coloring, which adds gaiety without additional flavor.
Icing is technically different from frosting. Icing is made with confectioner’s sugar, also called icing sugar. Most consumers aren’t aware of this technicality, and use the words interchangeably.
LIQUOR & LIQUEUR: THE DIFFERENCE
Liquors are distilled spirits; that’s why they’re also known as spirits.
They are made of grains or other plants that are fermented and distilled into high-proof alcoholic beverages. Bourbon, gin, rum, scotch, tequila and vodka are examples.
The distillation process separates the water from the alcohol, increasing the alcohol content to at least 20%/40 proof. Japanese shochu is an example of this. Western spirits are typically distilled to 40% alcohol/80 proof, although some rums are distilled to a higher proof.
Liqueurs are sweetened spirits. with with various extracts, oils and other flavors added. Brandy, rum and whiskey are common base spirits for liqueurs.
|