[1] Beer goes great with turkey. This is an amusing optic from Joe Morette, a New Hampshire turkey farmer. Back in 1993, one of his birds accidentally knocked over a beer and started drinking it. Since then, Morette has been giving his turkeys beer which, he says, yields a more flavorful and juicy meat. Bonus: The extra carbs and calories make the birds plumper. His turkeys quickly sell out.
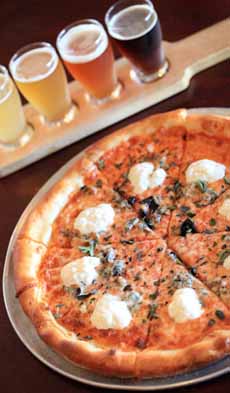
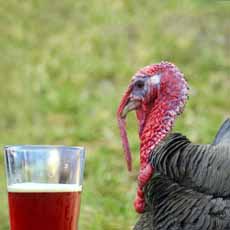
[2] Different beers should be paired with the appetizers, mains and desserts (photo courtesy Thrillist). So, what could be better than a regular Thanksgiving dinner, than a beer tasting with the dinner?
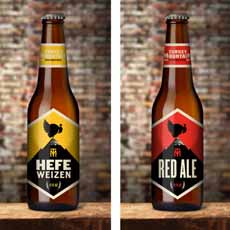
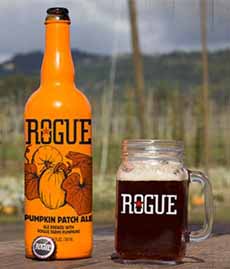
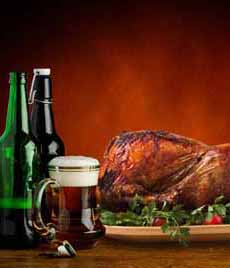
[3] If only we could buy good beers with a turkey on the label. Unlike Christmas brews with holiday labels, Thanksgiving options comprise pumpkin beers and ales. These beers are homebrews from Jason Drumheller, an artist in the Blue Ridge Mountains of Virginia. Alas, his small production of Turkey Mountain Brewhaus beers are not commercially available, except to local friends. |
|
Many people fuss over what wines to serve with Thanksgiving dinner. But what if your drink of choice is beer?
If you’d rather have beer, we’ve adapted some suggestions from Orr Shtuhl, writing in The New York Times.
There are numerous other articles that cover the same topic. We’ve included some of them at the end of this article.
Before we begin, let us clarify:
In this article, beer and turkey does not mean beer-can turkey: sticking a can of beer in the turkey’s cavity with the goal of a moister bird.
Here, it means pairing beer to the course served; and might we add, drinking beer from the glass, not the can. After all, it is a holiday. Wine glasses are fine for serving beer.
And a bonus: Beer has half the alcohol of wine. That means you can have twice as much as the wine drinkers, without getting inebriated.
WHAT BEERS SHOULD YOU SERVE?
This is not the time for a big, hoppy IPA, experts agree. Per Shtuhl:
“Opt for bready flavors over hop bombs, as hoppy bitterness is better for spicy or sharply flavored foods. Rather than getting swept up by beers with kitschy additives like fruit or spice, stick to age-old standbys that harmonize with the food rather than upstage it.”
Don’t hesitate to buy beer in cans over beer in bottles if you want those brands, notes Shtuhl. Many innovative breweries use cans, and they chill down more quickly than glass bottles.
But if you can find large bottles (750 milliliters—the same size as wine bottles), select two different styles, and let guests pour for themselves.
Here’s more on the different types of beer.
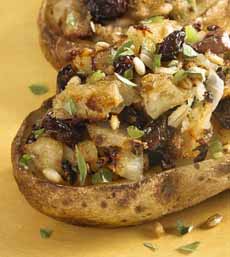
BEERS WITH THANKSGIVING HORS D’OEUVRE & APPETIZERS
Begin with a dry, lighter-body beer. They whet the appetite without starting the beginning of the meal with big flavors or big alcohol.
Styles To Look For: dunkel lagers, helles golden lagers, light saisons, pilsner.
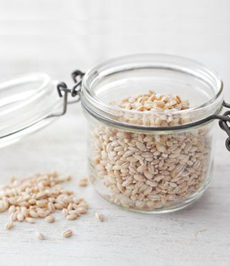
BEERS WITH THE TURKEY & SIDES
Here, you can choose a lighter or darker style.
Light beer: Saisons, also called farmhouse ales, have spice-like nuances (it’s from the yeasts used—no actual spices are added). They have more body than the beers recommended for the appetizers— body to stand up to gravy and sweet potatoes.
Dark beer: A beer like weizenbock is versatile and easily pairs with the turkey (or ham, or your protein of choice) and sides. Weizenbock is a cross between hefeweizen, a German wheat beer, and doppelbock, a strong brown lager. They have caramel undertones and a bit of carbonation (from the type of yeast) that says “celebrate!”
Styles To Look For: Belgian dubbels, saisons and weizenbocks.
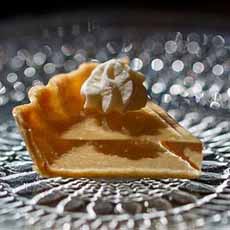
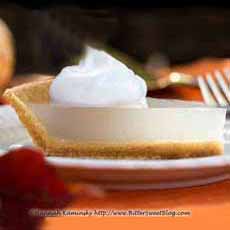
BEERS WITH THANKSGIVING DESSERTS
There is a growing number of “dessert” craft brews out there, but for classic Thanksgiving desserts, stick to the basics. Porters and stouts have enough sweetness to drink with pumpkin pie or pecan pie.
Styles To Look For: chocolate stout, coffee stout, porter.
|