|
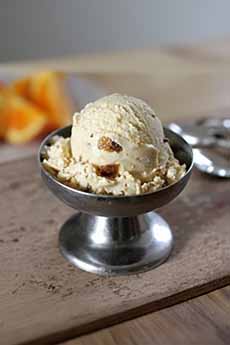
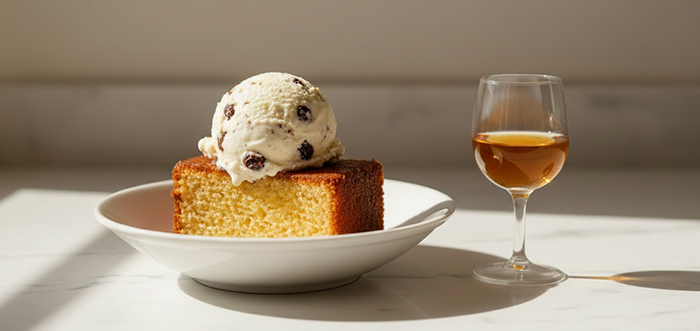
Here’s something special for ice cream lovers: Date-Orange Ice Cream, a citrusy-sweet, sophisticated combination crafted by David Lebovitz for Spice Islands.
He happened upon a sale on dates and created what he calls “a uniquely delicious cross between a classic Creamsicle and exotic dates.”
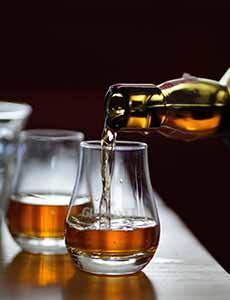
If you want to dial up the orange flavor, says David, use an orange-flavored liqueur with the dates. You can also add a tablespoon of rum or orange-flavored liqueur to the custard just before churning.
The recipe follows. Elsewhere on The Nibble:
> > The different types of ice cream and frozen desserts: a photo glossary.
> The history of ice cream.
> The year’s 50+ ice cream holidays.
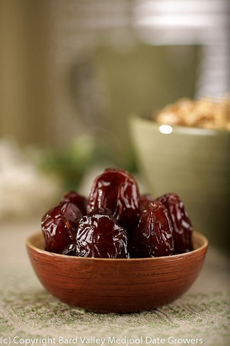
> The history of dates.
> The different types of orange liqueur.
RECIPE: ORANGE DATE ICE CREAM
Ingredients For 1 Quart
5 ounces pitted dates, snipped into pieces
1/3 cup dark rum or orange-flavored liqueur
4 teaspoons Spice Islands orange peel
1 cup whole milk
2/3 cup sugar
big pinch of salt
1-1/4 cups heavy cream
5 large egg yolks
1/2 teaspoon Spice Islands pure vanilla extract
Preparation
1. Combine the dates, rum (or orange-flavored liqueur) and orange peel in a small saucepan. Warm the mixture gently and let simmer for about a minute, or until almost all of the liquid is absorbed. Remove from heat, then cover and set aside.
(You can do this the day before.)
2. To make the ice cream, combine the milk, sugar and salt in a medium saucepan.
3. Pour the cream into a medium-sized bowl, set a mesh strainer over the top and nest the bowl in a bigger bowl of ice.
4. In a small bowl, whisk the yolks together.
5. Warm the milk until the sugar is dissolved. Once warm, slowly pour the milk over the yolks, whisking constantly as you pour.
6. Scrape the mixture back into the saucepan and cook over low heat, stirring constantly with a heatproof spatula, until the mixture just begins to thicken and coats the spatula. Do not overcook.
7. Immediately pour the mixture through the strainer into the cream, add the vanilla and stir to cool. Once cool, chill the mixture thoroughly in the refrigerator.
8. Freeze the ice cream mixture in your ice-cream maker according to the manufacturer’s instructions. Once churned, fold in the macerated dates and orange peel, along with any liquid that might still be in the pan. Chill in the freezer before scooping.
|