|
In Scotland, January 25th is a national holiday that celebrates the birthday of the great romantic poet, Robert Burns (1759-1796). On Burns Night, family and friends gather for an evening of good food and company. A traditional Burns’ Supper is served.
This year, instead of cooking a traditional Burns Supper (smoked haddock, beef pie, haggis, colcannon, tatties), we’re taking the sweeter road:
BURDICK SCOTCH WHISKY CHOCOLATES
Available for only three weeks each year, this special box of chocolates blends Scotch whisky into every piece.
There are ganache-filled chocolates made with some of the finest whiskys, including Highland Park, Macallan, Springbank and Talisker. They are accompanied by Glenfarclas bonbons and Lagavulin and Whisky Honey truffles.
The chocolates are available now through January 28th. Get an extra box for Valentine’s Day, at BurdickChocolate.com.
A half-pound box of Scotch Whisky chocolates is $38.00.
The Scotch Gift Basket includes a quarter-pound box of the chocolates, shortbread cookies dipped in white chocolate, three Scotch Whisky chocolate cigars, a 12-ounce bag of spicy drinking chocolate, 1 chocolate mouse* and a book of Robert Burns Poems and Songs, $78.00.
OTHER WAYS TO CELEBRATE BURNS NIGHT
Here’s an alternative Scotch and chocolate tasting party with fine chocolate bars.
Don’t like chocolate? Go straight to a Scotch tasting party.
Here’s more about Burns Night.
WHISKY VS. WHISKEY
Whisky is the Scottish spelling of whiskey, a term that originated in Ireland. The alternative spelling was chosen to differentiate the Scots’ national product from Irish whiskey.
The “whisky” spelling is used in Canada, Japan and Wales, as well as Scotland.
In the U.S., a 1968 directive from the Bureau of Alcohol, Tobacco and Firearms specifies “whisky” as the official U.S. spelling. However, it allows the alternative spelling, “whiskey.”
Most U.S. producers prefer to include the “e,” as do we. Without it, it looks like something is missing.
|
|

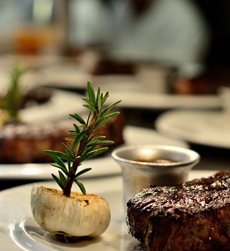
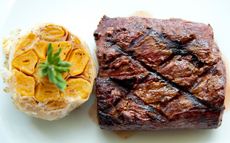
[1] What a way to celebrate Burns Night: with Scotch whisky chocolate (photos #1 and #2 © L.A. Burdick Chocolate).
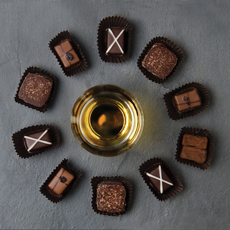
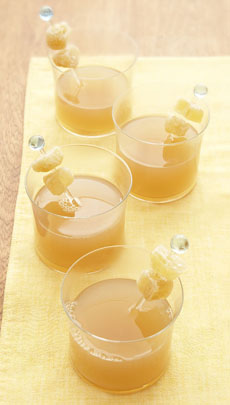
[2] You can pair the chocolates with glasses different Scotch whiskys.
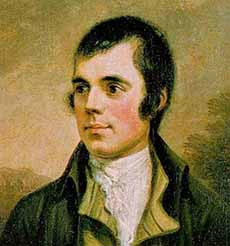
[3] The poet himself: Scotland’s Robert Burns (photo Wikipedia).
|