|
Not everyone wants chocolate for Valentine’s Day, or cupcakes with red and white sprinkles.
Here are some delicious food ideas for the health enthusiast, the calorie counter, and anyone staying away from the sweets.
KIKLOS OLIVE OIL
Olive oil for Valentine’s Day?
While this is a delicious EVOO for salad lovers, we first thought of this as a gift for health enthusiasts.
The government recommends two tablespoons of olive oil a day as part of a heart-healthy diet—a practice that should start long before we’re at the age to worry about heart health!
They can take the form of salad dressing; but we actually like to drink ours.
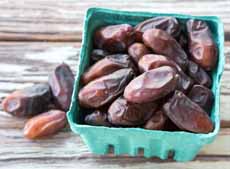
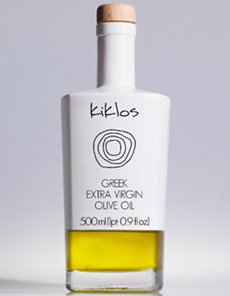
The Koroneiki olives in Kiklos olive oil are grown in the Peloponnese peninsula of Greece. The varietal is known for levels of fruitiness, bitterness, and pepperiness.
We found our bottle of Kiklos Greece to have buttery flavor with a bit of peppery kick (i.e., not earthy, green, grassy, or other olive oil flavors that some people might not to drink from the spoon. Everyone will like it.
Plus, the handsome bottle (photo #1) even looks healthy! For your Valentine, add a red ribbon or a few peel-and-stick hearts.
Buy it on the company website for $29; the bottle is 500 ml/16.9 ounces.
Check out this olive oil wheel for an overview of all the flavors and aromas of olive oil.
ARTISAN PICKLES
At upwards of of $10 per bottle, even the most avid pickle enthusiasts don’t eat artisan pickles as often as they like.
Look to your local farmers markets, or to online specialists like Rick’s Picks.
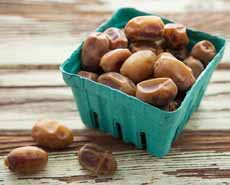
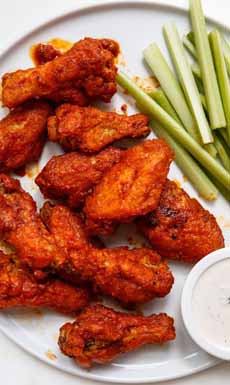
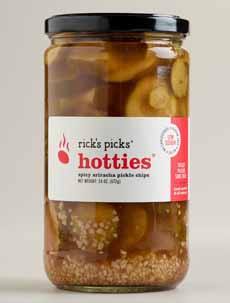
Rick’s Picks has a variety of gift boxes, but for a small Valentine gift, how about a bottle of Hotties spicy pickle chips (photo #2) for your own special hottie?
Crunchy, spicy, tangy and low in calories: Help make Hotties a go-to Valentine gift.
NON-CALORIC CHOCOLATE SODA OR SELTZER
Canfield’s Diet Chocolate Fudge Soda has long been a staple food for calorie-counting chocolate lovers.
We especially like to add it to nonfat milk for a diet egg cream, or add a small scoop of ice cream for a float.
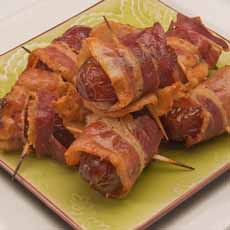
It’s sold nationwide; but if you can’t find it locally, you can buy a six-pack of Canfield’s Diet Chocolate Fudge Soda on Amazon (photo #3). Tie a bow on it.
For those who don’t like artificial sweeteners, look for chocolate-flavored seltzers. In our neck of the woods, we can find White Chocolate Seltzer from Adirondack Beverages. We buy it by the case.
SASHIMI DINNER
There’s no better place to dine than a Japanese restaurant: no bread basket or dessert temptations.
There are different types of salads, the soups are low in calories, you can often get brown rice, and green tea goes better with the food than cocktails.
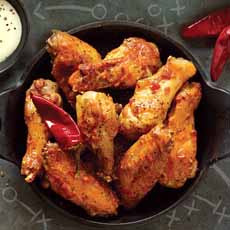
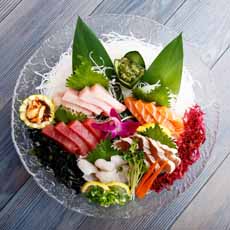
A deluxe sashimi plate is the best way to load protein with fewer calories (photo #4). Be sure to eat the yummy seaweed. Radish lovers: Enjoy that shredded daikon!
If you aren’t taking the giftee to dinner yourself, put the restaurant gift certificate (or any gift card) in a Valentine card.
BALSAMIC VINEGAR
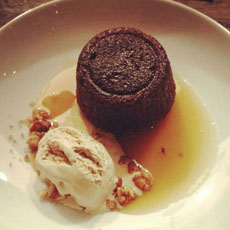
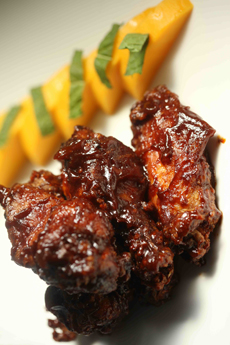
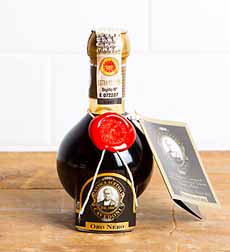
For us, nothing says I love you better than a pricey bottle of super-aged authentic balsamic vinegar (photo #5).
A true gourmet looks forward to these precious drops, so dense they stand up by themselves, which are meted out with an medicine dropper.
This is not the vinegar with which to dress salads; it’s an exquisite accent to anything from filet mignon to the finest Parmigiano-Reggiano cheese.
Other traditional uses are the season’s best tomatoes or strawberries, pound or angel food cake. You place droplets of balsamic on the plate, and dip the food into it. You never cook with it
Once you have your first taste, you may simply decide to drink droplets from the spoon!
|