|
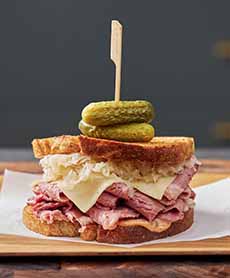
[1] How to make a better Reuben sandwich: use the best sauerkraut and a great recipe like this one (photo © Marion’s Kitchen).

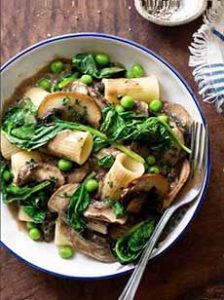
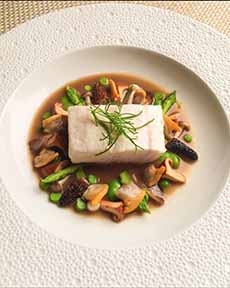
[2] Sauerkraut with beef, burgers, hot dogs, salmon, and sandwiches (photos #1 to #4 © Cleveland Kraut).
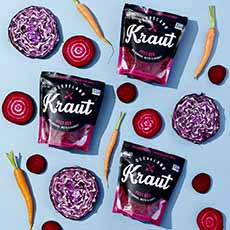
[3] Beet Red Cleveland Kraut, made with red cabbage, beets, and cabbage. Try it with hot dogs, meat dishes, and salads paired with goat cheese.

[4] Green cabbage, green bell peppers, jalapeños, leeks, red chiles, sriracha, and seasonings make Gnar Gnar a match with egg dishes, rice, salads, and tacos.
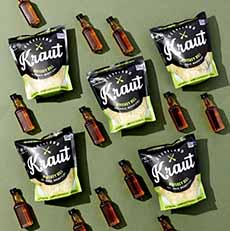
[5] This “spirited” kraut combines fresh garlic and dill with barrel-aged whiskey, which adds a subtle sweetness to each batch. Pair it with chicken, salads, and sandwiches.

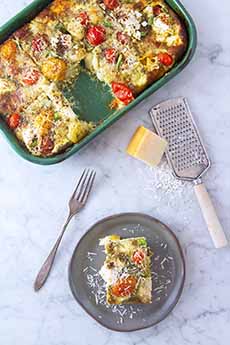
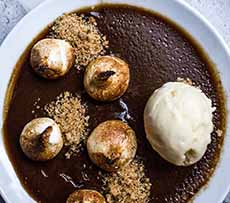
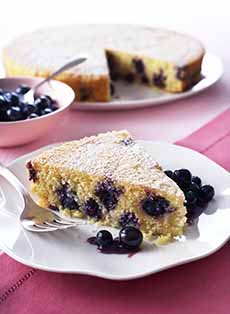
[6] Did you say sauerkraut cake? “People might need some coaxing to try it,” said someone who made the recipe, “but once they do, they will love it.” Here’s the recipe (photo © Taste Of Home).
|
|
Sauerkraut is one of our colleague Laura’s favorite foods. Her family has made it for generations and love it so much, they eat it from the jar.
We created a sauerkraut dinner menu for her—6 courses selected from these 40 sauerkraut recipes—using our Top Pick Of The Week:
Cleveland Kraut sauerkraut, a terrific line of flavored krauts: raw, unpasteurized and lacto-fermented.
By the way, the third week in October is National Kraut Sandwich Week. So put some kraut on your sandwich. It doesn’t have to be a Reuben.
Think burgers, ham sandwiches, hot dogs (yes, they’re a sandwich), sausage heroes, and the others we’ve suggested below.
CLEVELAND KRAUT FLAVORS
If you like plain sauerkraut—which is all that most of us have had—you’ll likely be thrilled with Cleveland Kraut’s flavored krauts. All start with green cabbage (except for Beet Red, which uses red cabbage), then deftly add seasonings.
Flavors—each deliciously flavorful and crunchy—include:
Beet Red (photo #3)
Cabbage & Cukes
Classic Caraway (the traditional Bavarian style)
Curry Kraut
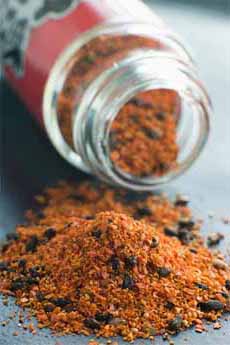
Gnar Gnar† (photo #4—kraut’s answer to kimchi, with green bell peppers, jalapeños, leeks, sriracha, garlic, and red chilis)
Whiskey Dill (photo #5—with barrel-aged whiskey)
WHY SAUERKRAUT IS GOOD FOR YOU
Sauerkraut is one of a group of fermented foods that is full of natural probiotics, nutrients, and flavor*.
Here’s a review of the nutrition and health benefits.
Fermented foods such as sauerkraut and kefir offer many health benefits. They restore gut health, support our immune system and help us to better absorb nutrients.
Whether it’s sauerkraut in Germany, kimchi in Asia (especially Korea), cortido (or curtido) in Central America, or choucroute in France, fermented cabbage is consumed wherever cabbage is grown.
All you need to ferment it is salt. At the correct level of salinity and at the proper temperature, cabbage will ferment into sauerkraut.
The addition of vinegar is looked upon with contempt by makers of “true” sauerkraut, who declare that it’s used only by those who don’t take the time to go through a full fermentation process and want a cheap and quick way to achieve acidity.
Several different bacteria are at work during this process. The most often cited probiotic bacterium associated with sauerkraut is Lactobacillus plantarum.
With supermarket sauerkraut, note: Many commercial fermented cabbage products have been pasteurized. The heat destroys the friendly bacteria as well as the harmful ones. For probiotic benefits, seek out raw/unpasteurized kraut.
Another benefit: Unlike pasteurized kraut, raw kraut is crunchy.
If you want to make your own sauerkraut, here’s how.
Whether you buy it or make it, save the liquid—it’s a great tenderizer in a marinade, and good in a vinaigrette.
WAYS TO USE SAUERKRAUT
Whether you make it or buy it, use it beyond hot dogs with:
Avocado toast, filled avocado halves.
Cold cuts and charcuterie.
Condiment: Stir a bit into ketchup, mayo, or plain yogurt for more of a zing. Use it on anything from burgers and hot dogs (photo #2) and other sandwiches, from avocado toast to grilled cheese to Reubens.
Chicken dishes.
Eggs: omelets, in a scramble, as a side, or mixed into deviled egg filling.
Fish dishes: as a side, in a sauce (photo #2).
Green salad or grain bowl.
Hot dogs (photo #2), brats, and other sausages: a given. But imagine them with Cleveland Kraut’s Curry, Roasted Garlic, or Whiskey Kraut.
Pierogies, with or without sour cream.
Pork chops, loin, pulled pork, Asian-style ribs.
Ricedishes.
Sandwiches: kraut atop a burger, deli meat, fried fish, grilled vegetable, ham, roast beef, or sausage sandwich—not to mention the Reuben.
Sides: plain, with caraway seeds, or with cubes of your favorite vegetables. Don’t forget the mushrooms and onions.
Soups & Stews: to punch up flavor.
Taco topping, burrito condiment.
And beyond: dips, meatballs, potato pancakes potato skins, stuffed cabbage, summer rolls, vegetable sushi and so much more—even chocolate cake (photo #6). Check out these recipes.
WHERE TO BUY CLEVELAND KRAUT
Ready to dig in?
Shop online at ClevelandKraut.com, or if you’re in the Cleveland area, check out the store locator.
|