|

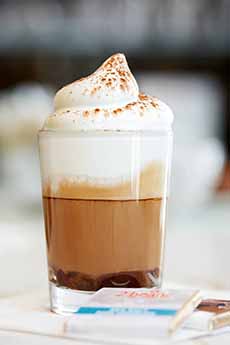
[1] A lamb burger, Mediterranean style (photo © Hubbard Inn | Chicago).
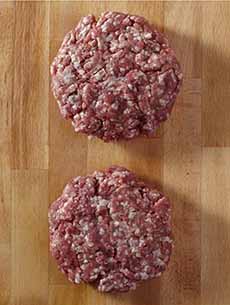
[2] Ground lamb. Ground lamb typically contains lean meat and trimmings from the leg, loin, rib, shoulder, flank, neck, breast and/or shanks (photo © Cava Grillhttp://www.americanlamb.com” rel=”noopener” target=”_blank”>American Lamb Board).
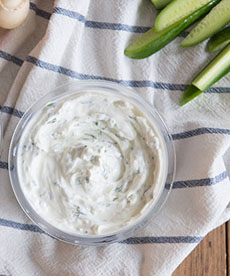
[3] Tzatziki, a spread made with Greek yogurt, cucumbers, garlic, dill and lemon juice (photo © Cava Grill).
|
|
Whether you prefer classic condiments and traditional toppings or would rather go the adventurous route, the hamburger lends itself to many interpretations.
See our long list of burger variations for every day of the month, and then some.
At Chicago’s Hubbard Inn, Executive Chef Bob Zrenner makes it even more adventurous.
He substitutes lamb for beef, creating a Greek-style lamb burger.
Chef Zrenner uses ground lamb from locally raised animals, and tops the patty with mint, cucumber, red onion and feta cheese.
He topped the burger with tzatziki, a yogurt sauce, instead of ketchup.
There’s juiciness from the lamb, creaminess from the feta and tzatziki, bright notes from the mint, and zesty red onion as a counterpoint to cool cucumber.
You’ll note in photo #1 that Chef Zrenner’s tzatziki recipe is focused on cucumbers as the main ingredient, with a yogurt binding. The traditional Greek recipe has yogurt as the main ingredient, with added chopped cucumbers and seasonings.
RECIPE: GREEK LAMB BURGER
Ingredients
Ground lamb, 1/3 pound per person
1 small red onion, thinly sliced
1/4 cup chopped fresh mint leaves, plus more if making tzatziki
1 small cucumber, thinly sliced*
8 ounces tzatziki, purchased or homemade (recipe) (you can substitute hummus)
Ciabatta, hamburger buns, pita or rustic bread—or go breadless
Optional garnish: Kalamata olives
Preparation
1. PREPARE. If you haven’t purchased the tzatziki, make it with this recipe. You can make it up to a week in advance.
2. GRILL. Cook burgers to desired doneness.
3. LAYER. Cover the bottom bread slice (or add to the pita pocket) with tzatziki. Place patty on top. Add cucumbers, onion slices and mint leaves. Top with more tzatziki and serve.
To Drink
We enjoy this burger with a beer; but mint tea is also delicious.
You can steep the leftover mint in boiling water and serve the tea hot or iced.
_______________
*We prefer to pickle the cucumbers for an hour or longer. It’s very easy with this recipe.
|