|
After Thanksgiving dinner, we served two specialty coffee recipes that were sent to us by Krups, a leader in coffee and espresso makers and other kitchen appliances.
Both recipes were hits, and we’ll continue to make them throughout the holiday season. Although guests will appreciate them, you don’t need a special occasion: Make them as a treat for yourself.
The second recipe is enhanced with liqueurs. You can also add a shot of coffee liqueur to the Gingerbread Latte.
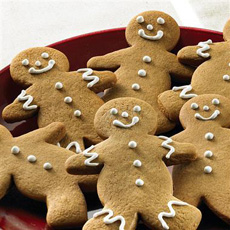
You can serve gingerbread or gingersnaps with both.
December 15th is National Gingerbread Latte Day.
> The year’s 25+ coffee holidays
> The different types of espresso drinks.
> The different types of coffee.
> The history of coffee
> The history of espresso is below.
RECIPE #1: GINGERBREAD LATTE
Ingredients Per Cup
2 fluid ounces espresso coffee
2 tablespoons gingerbread flavored syrup (also
available in sugar-free)
1/2 cup milk, steamed
1/8 cup milk, frothed
1 pinch pumpkin pie spice
1/2 teaspoon vanilla powder
Preparation
1. COMBINE the espresso coffee with gingerbread syrup in a coffee mug.
2. POUR in the steamed milk and frothed milk. Sprinkle with pumpkin pie spice and vanilla powder.
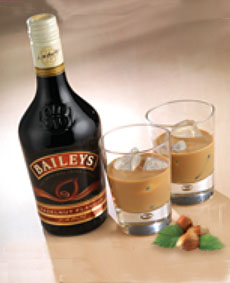
RECIPE #2: COFFEE HAZELNUT CREAM
Ingredients For 4 Servings
1 shot coffee liqueur
1 shot Irish cream
1-1/2 shot hazelnut liqueur
4 cups hot coffee
Cream
Preparation
1. MIX the coffee and liqueurs in a pot. Pour into individual cups.
2. SERVE with a pitcher of cream.
|