|
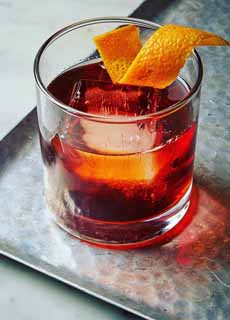
[1] A delicious Negroni at Taralucci e Vino in New York City (photo © Taralucci e Vino)
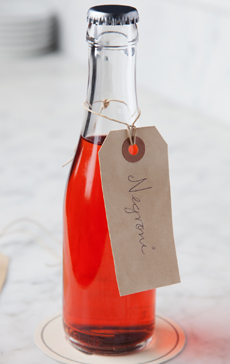
[2] An idea from Irvington Restaurant in New York City: bottling a Negroni as a party favor (photo © Irvington Restaurant).
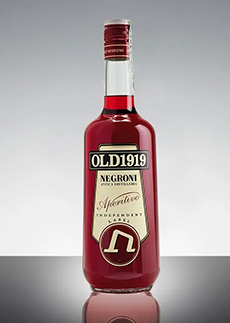
[3] The bottled version is a natural infusion of bitter herbs and spices, including rhubarb, gentian, kola nut, roman wormwood and dandelion (photo © Distilleria Negroni).
[4] Adding some bubbly to a Negroni (photo © DeLallo).
|
|
It’s time to celebrate Negroni Week. For those not immersed in cocktail culture, the Negroni is one of the classics, dating back to 1919. The recipe follows, but first:
> Negroni food pairings.
> The top 12 gin cocktails.
> The history of gin.
> The history of vermouth.
> The history of cocktails.
> The history of Campari.
> The year’s 14 gin holidays.
> The year’s 49 cocktail holidays.
NEGRONI COCKTAIL HISTORY
As the story goes, the cocktail was invented in 1919 at the Bar Cassoni* in Florence, Italy by bartender Fosco Scarselli. He created it for a regular patron, Count Camillo Negroni, who customarily ordered an Americano cocktail—Campari, sweet vermouth, and soda water.
The count asked Scarselli to strengthen his cocktail, so he replaced the soda water with gin. He also added an orange peel garnish instead of the traditional lemon to distinguish it from the original Americano.
And he presented it to his client with the greatest honor a bartender can bestow: He bestowed the name “Negroni” on the new cocktail.
The cocktail—a balance of bitter, sweet, and botanical flavors—took off, and family member Sir Guglielmo Negroni seized the opportunity, quickly founding Negroni Antica Distilleria in the city of Treviso, producing Antico Negroni (photo #3), a ready-to-drink bottle of the cocktail.
However, the cocktail was unknown in the U.S. until 1947 when Orson Welles, working in Rome, wrote about it, creating a rush to try it.
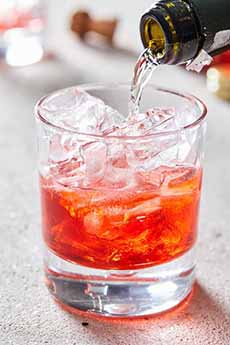
But it didn’t remain prominent in American cocktail culture until the craft cocktail renaissance of the 2000s. By the 2010s, it had become a symbol of sophisticated drinking and has become popular worldwide, inspiring countless variations (photo #4).
> Here’s a recipe for a Balsamic Negroni.
RECIPE: THE CLASSIC NEGRONI COCKTAIL
Ingredients
1.25 ounces gin
1.25 ounces Campari
1.25 ounces Martini sweet vermouth
Garnish: orange twist
Preparation
1. COMBINE ingredients in a shaker with ice.
2. STRAIN into chilled coupe or serve over ice in a chilled rocks glass. Garnish and serve.
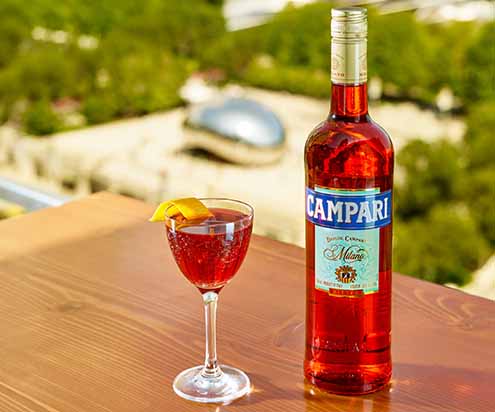
[5] Negroni Week, in September, encourages you to enjoy one on the patio or balcony (photo © Daniel Kelleghan | Campari Group).
_____________________
*Bar Cassoni became Caffè Casoni and is now called Caffè Cavalli.
CHECK OUT WHAT’S HAPPENING ON OUR HOME PAGE, THENIBBLE.COM.
|


