|
Preparation
1. PREHEAT the oven to 350°F. Lightly butter a 9″ x 5″ loaf pan.
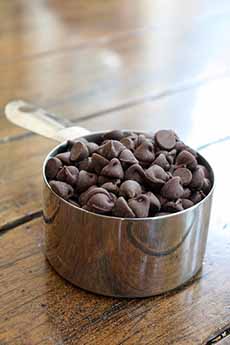
2. COMBINE the flour, sugar, baking powder, salt, baking soda, cinnamon, and nutmeg in a large bowl. Add the chocolate chips.
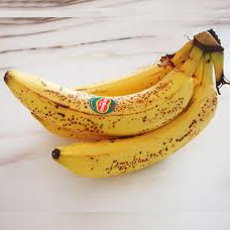
3. WHISK the eggs, melted butter, sour cream, vanilla, and orange zest in a medium bowl. Stir in the mashed banana, then fold the mixture into the flour mixture until just combined.
4. ADD the batter to the prepared pan. Bake until a toothpick inserted into the center comes out clean, about 55 minutes. Cool for 30 minutes in the pan on a rack, then turn the bread out onto the rack to cool completely.
5. MAKE the glaze: Whisk the confectioners’ sugar, cocoa powder, milk, vanilla and salt in a bowl. Pour over the cooled banana bread and let set, 15 to 20 minutes.
DIFFERENCE BETWEEN “BREAD” & CAKE
There is a transition between sweet breads and lower-sugar cakes that are baked in loaf pans, such as carrot bread and banana bread.
What’s the difference between a banana bread and a banana cake? The obvious difference is that the bread is baked in a loaf pan while the cake is baked in a round, square, or rectangular cake pan.
A less obvious distinction is that the bread style of cake, as a quickbread*, is leavened with baking soda instead of yeast, which makes them quicker to rise.
In general, loaf cakes or “breads” also have a denser crumb, a rougher texture and often less sugar than their cake counterparts.
While the origin of the “bread” style of cake is unknown, food historians believe that it was originated in the 18th century with housewives experimenting with pearl ash. The powder was used as leavening in quick breads from around 1740, long before the invention of baking powder.
Banana bread became common in American cookbooks in the 1930s, with the popularization of baking soda and baking powder, and very popular in the 1960s, when variations with simple inclusions (nuts, chocolate morsels) created simple but delicious snack cakes.
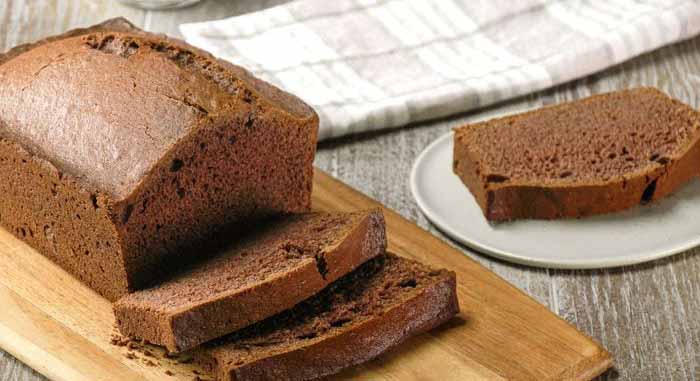
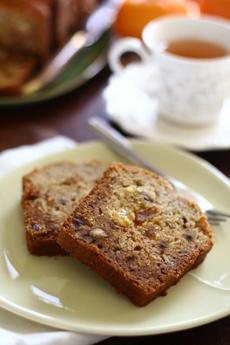
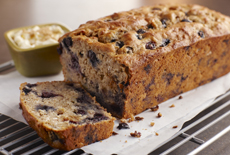
[5] How about chocolate banana bread? Here’s the recipe with our tip: add chocolate chips (photo © Taste Of Home).
_________________
*Other quickbread examples include biscuits, cornbread, muffins, scones and soda bread.
CHECK OUT WHAT’S HAPPENING ON OUR HOME PAGE, THENIBBLE.COM.
|