|
September 4th is National Macadamia Nut Day, so today’s tip is to add some to your meals.
Believed to have originated in Australia, the nuts grow on a genus of evergreen trees. They were named after named after John Macadam, a botanist who first described the genus.
While macadamia nuts contain even more heart-healthy monounsaturated fats than the nuts included on the FDA’s recommended list of heart-healthy nuts, they did not make the list because of their caloric density. (The FDA recommends that an ounce of nuts a day can be part of a heart-healthy diet.)
A one-ounce serving of dry roasted macadamia nuts, about 10 nuts, has 200 calories*. But that doesn’t mean that you can’t include them in your meals—just don’t eat them by the bowl full.
According to a 2008 study in the Journal of Nutrition, a diet rich in macadamia nuts may lower LDL cholesterol and total cholesterol (it’s the monounsaturated “good” fats lower blood pressure and cholesterol).
(Dog owners note: Like chocolate, macadamias are toxic to canines.)
National Macadamia Nut Day is September 4th.
> Check out the year’s 38 nut holidays.
> The history of macadamia nuts.
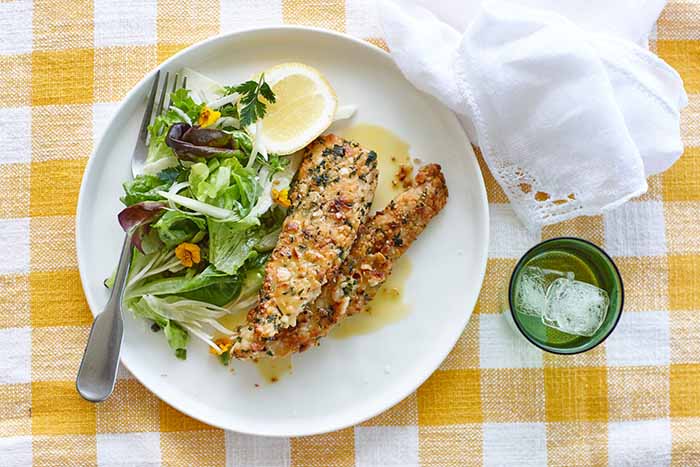
> Take a look at the delicious macadamia-crusted fish fillet recipe below.
WAYS TO ENJOY MACADAMIA NUTS
Some of our favorite uses:
Savory Recipes: Garnish salads, nut crust for chicken or fish and mixed into popcorn. We also use heart-healthy macadamia nut oil for salad dressings and cooking (it has a smoke point of more than 400°F).
Sweet Recipes: Chocolate chip cookies (use white or semisweet chips, or a mix); macadamia butter cookies instead of peanut butter; nut tarts or pies (substitute macadamias in your favorite pecan pie recipe), instead of berries as a dessert garnish.
Macadamia Butter
Pick up a jar of macadamia butter at a natural foods store (Artisana macadamia nut butter was a NIBBLE Top Pick Of The Week).
Use it as you would peanut butter—as a spread, in ice cream, in baking, in sauces. We like it as a sauce with this easy fish recipe.
FISH FILLETS WITH MACADAMIA BUTTER
Ingredients For 6 Servings
6 medium-size mild fish fillets, about 1-1/2 pounds (flounder, orange roughy, sole, tilapia)
1 tablespoon cooking oil
Salt
4 tablespoons (1/2 stick) butter
1/4 cup macadamia nut butter
Garnish: 6 springs parsley, finely chopped, 6 lemon wedges
Optional Garnish: 3 teaspoons chopped macadamia nuts (1/2 teaspoon per fillet)
Preparation
1. COOK THE FISH. Lightly rub fish fillets with oil and sprinkle with salt. Sauté or steam, as you prefer (you can also fry them). Move to a warm serving platter.
2. MAKE THE SAUCE. Melt the butter in a large skillet. Add the macadamia butter and cook over low heat for 1 minute.
3. PLATE & SERVE. Plate the fish, pour the macadamia butter sauce over the fillets. Garnish the fillets with chopped parsley and chopped macadamia nuts. Serve with a lemon wedge, your favorite green vegetable, steamed, and brown rice, quinoa or other whole grain.
|
|
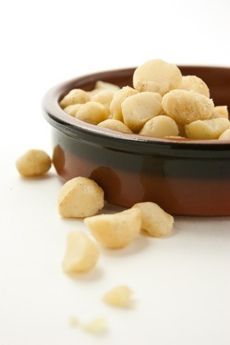
[1] Macadamia nuts (photo © Fotostreet | iStock Photo).

[2] Macadamia nuts growing on the tree (photo © Hawaiian Host | Facebook).

[3] Macadamia nuts in shell (photo © Australian Macadamias).

[4] Instead of PB: macadamia butter and jelly (photo © 34 Degrees).
|