Make An Ice Box Cake, No Baking Required 8 Recipes
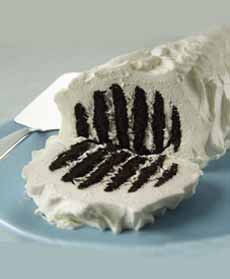
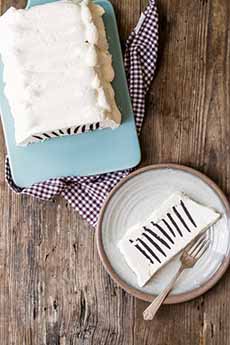
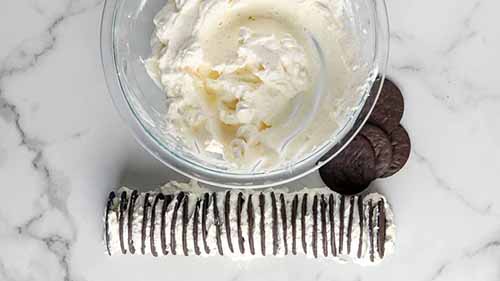
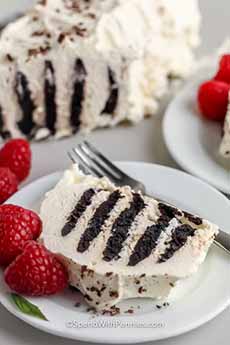 [1] The original Ice Box Cake, a simple yet memorable combination of chocolate wafers and whipped cream, was made in a roll / log shape (photo #9). Here’s the recipe (photo © Spend With Pennies).
|
Updated July 2026 The icebox (also spelled ice box) cake falls in the blessed category of summer foods that require no heat to cook. Just as good, it can be made by people who don’t cook or those who are just learning. And best of all, it delights everyone. National Chocolate Wafer Day is July 3rd. (For those who hate the heat, pick up a copy of Cool Kitchen: No Oven, No Stove, No Sweat! 125 Delicious, No-Work Recipes For Summertime Or Anytime, a book that’s out of print and can be bought for a song.) Below: > The recipe for the original icebox cake. Elsewhere on The Nibble: > The history of cake and the different types of cake: a photo glossary. > The history of chocolate wafers. > The history of whipped cream. > The year’s 55 cake holidays. > The year’s 44 cookie holidays. The Earlier Inspiration An icebox cake—also called a refrigerator cake—is a no-bake cake, a descendant of the charlotte and the trifle. Wikipedia says that the Icebox Cake was first introduced in the U.S. during World War I, but that its popularity took off in the 1920s and 1930s. Different brands of products, from wafers to condensed milk to pudding, began printing “back of the box” recipes. As long as one had an icebox in which to keep the whipped cream cake, it could be made on a hot summer day without turning on the oven or stove (in the era before air conditioning, which didn’t begin to be installed in homes until the 1950s, becoming more common in the 1960s). The cake is left overnight in the icebox; the wafers are softened by moisture from the whipped cream so the cake can be easily sliced. When cut at a 45-degree angle, the stripes of chocolate and cream are displayed. Nabisco printed a recipe on the back of its box of Famous Chocolate Wafers, called “Famous Chocolate Refrigerator Roll.” In the original recipe, the wafers are sandwiched with whipped cream and stacked to form logs, which were laid side-by-side with more whipped cream to frost the exterior. See the technique in this recipe from Joy The Baker, who cleverly transforms the logs into a Christmas yule log cake. The cake can also be assembled in a baking dish—an easy option for novices. In recent times, icebox cake connoisseurs have made variations using caramel, fresh fruit (bananas and strawberries are popular), fruit curd, jam, peanut butter, pudding, and other fillings; and graham crackers, tea biscuits, vanilla wafers, and other cookies instead of chocolate wafers. The whipped cream itself can be made in any number of flavors. Ernestine Emanuel of New York is credited with creating the graham cracker icebox cake. The story appears to be a family tradition rather than a documented historical event. An Italian immigrant living in New York, she purportedly created her version of an icebox cake with graham crackers and cooked pudding while on her honeymoon in Atlantic City. By the 1940s, the dessert had become popular within her family and community. The ingredients are the same as Nabisco’s original recipe, but the instructions have been adapted slightly to provide more options. More icebox cake recipes follow. |
|
|
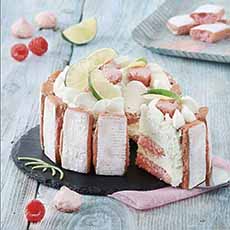
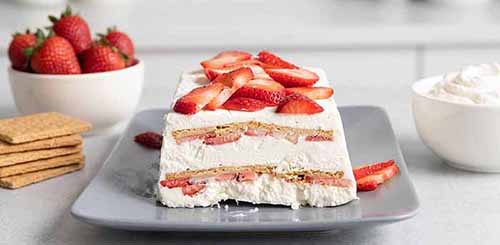
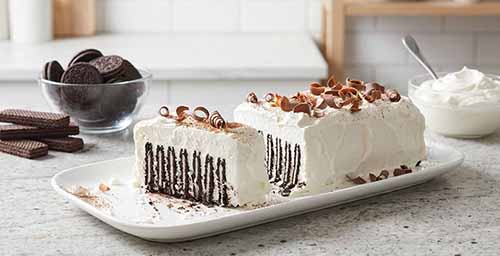
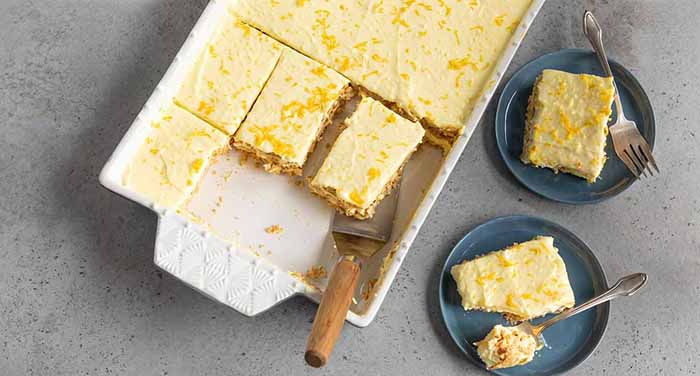
A chocolate icebox cake has both chocolate wafers and chocolate whipped cream. Here’s the recipe for chocolate whipped cream. Beyond the original icebox cake (which is “vanilla” because of the vanilla whipped cream, other flavors are called by their key flavor: coffee ice box cake, lemon icebox cake (photo #11), strawberry icebox cake (photo #8), etc. 1. MAKE the whipped cream: Beat the cream with the sugar and vanilla until soft peaks form. 2. SPREAD a thin layer of whipped cream on a round serving plate. Arrange six cookies in a circle, with another cookie in the center. Spread the layer of cookies with a half cup of whipped cream, but not over the edge. The whipped cream should be at least a quarter-inch thick between the cookie layers. 3. REPEAT until the cake is four or five inches high, and top it with a finishing layer of whipped cream. Stagger the cookies in each layer (see the photo above). The cookie edges should be visible on the side of the cake; but if you like, you can ice the sides before serving, creating even more of a surprise when the cake is sliced and served. If you want to ice the sides, whip an extra cup of cream before serving. By waiting until right before serving, the plastic wrap won’t stick to the sides. 4. COVER with plastic wrap (or a cake dome); a trick is to place toothpicks around the rim of the cake to keep the plastic wrap off of the whipped cream. Refrigerate for at least eight hours, but overnight resting makes the cake even moister. 5. GARNISH as desired before serving. Just in time for this summer comes Icebox Cakes: Recipes for the Coolest Cakes in Town. The author, Jean Sagendorf, has taken the icebox cake a leap forward by making variations in numerous favorite dessert flavors. Banana Rum, Key Lime, Lemon Caramel, Mexican Chocolate Spice, Peanut Butter Cup, Peppermint Chocolate, Red Velvet, Raspberry Ganache, and Salty Caramel are just some of her modern icebox cakes. You can start at the beginning and make the project your summer’s “Julie and Julia.” ________________
CHECK OUT WHAT’S HAPPENING ON OUR HOME PAGE, THENIBBLE.COM. |
||