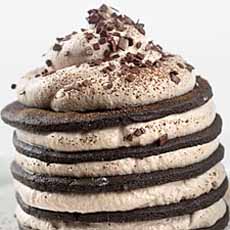
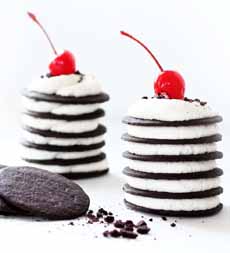
TIP OF THE DAY: Creative Icebox Cakes & Homemade Chocolate Wafers Recipes
|
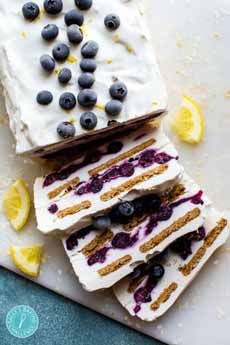
[5] Home cooks got even more creative with the ingredients, as in this Lemon Blueberry Ice Box Cake recipe from Sally’s Baking Addiction. |
Ice Box Cake has long been popular on a hot summer day: No hot oven required.
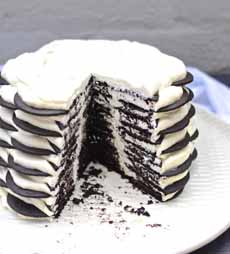
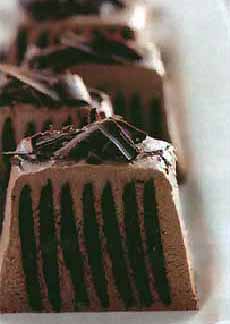
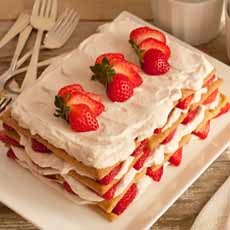
Instead, wafer cookies—the thin, flat kind—are layered with whipped cream and refrigerated for 4 hours or more. Moisture from the whipped cream softens the cookies, turning them into with individual refrigerator cakes. Nabisco Famous Chocolate Wafer Cookies date to the 1930s: very thin, crispy chocolate cookies that were used for icebox cakes and chocolate crumb crusts. The Ice Box Cake was created by Nabisco home economists and printed on the wrapper—as so many iconic American recipes were—to sell more product! We’re not talking general recipes: Oatmeal cookies existed long before Quaker Oats printed a recipe on its label. We’re talking inventions: *Created by Mildred Day, a Campfire Girls counselor and Kellogg’s employee, who created the recipe to help her Campfire Girls raise money. Dating to the 18th century, wafer cookies were made by home cooks and later by bake shops. By the 20th century, they were popular enough to make their way into commercial manufacture. The first manufactured chocolate wafers—Nabisco’s Famous Chocolate Wafers—debuted in 1924. The company sold a tin of three flavors: chocolate, ginger and sugar wafers. When Nabisco transitioned to cardboard packaging around 1930, the other flavors were dropped and the Famous Chocolate Wafer boxes were printed with the recipe for Icebox Cake. In the first iteration (photo #1), a log of chocolate wafers separated with whipped cream, that was then frozen. From that moment, Chocolate Ice Box Cake was a hit. It could be made equally well by experienced cooks as well as housewives who rarely entered the kitchen (or if they did, were not known for their culinary gifts). Delicious any time, it was a godsend in summer months, when, before the dawn of widespread air conditioning, no one had the desire to turn on the oven. The recipe was enlarged to a “layer cake” format (photo #2). Separately, the wafers were crushed and used as crusts for pies and cheesecakes, and as dessert garnishes. While ice box cake is an American invention, is a descendant of the charlottes and trifles that date to 17th-century Europe. Here’s the longer history of ice box cakes, charlottes and trifles. With today’s ice box cakes, anything goes, with: But do keep the cookies thin. The thinner the cookie, the more likely it is to dissolve into a soft, cakey texture. That Toll House or oatmeal cookie doesn’t work: Save them for ice cream sandwiches. |
|
|
BAKE YOUR OWN CHOCOLATE WAFERS & MAKE INDIVIDUAL STACK ICE BOX CAKES These days, with all the competition on the supermarket shelf, it can be hard to find Nestle’s Famous Chocolate Wafers. Thank goodness for online shopping. But how about making your own? They’ll taste even better. Here’s a recipe from King Arthur Flour. Prep time is 30-50 minutes, bake time is 20-22 minutes. Whether you bake them or buy them, you can make individual refrigerator cakes by making single stack of wafers and cream instead of a larger cake. You need to refrigerate them at least 4 hours before serving, or overnight. This recipe makes 3½ dozen, 2½-inch cookies. Ingredients For 8 Individual Stack Cakes Or 1 Large Cake For The Wafers ________________ |
||
|
Preparation
1. GREASE lightly (or line with parchment) two baking sheets, or more if you have them; you’ll make 3 to 4 baking sheets’ worth of cookies. 2. BEAT together in a medium-sized bowl the sugar, butter, salt, baking powder and espresso powder. Beat in the egg and vanilla, then the flour and cocoa. Cover the dough and chill for 30 minutes. While the dough is chilling, preheat the oven to 350°F. 3. ROLL the dough about 1/8″ thick. Use cocoa instead of flour to dust your rolling board and the dough. Cut into 2 ½”-round cookies. A biscuit cutter is handy for this. 4. BAKE the cookies for 10 minutes. Watch them closely at the end of the baking time, and if you start to smell chocolate before 10 minutes has gone by, take them out. When they’re done, remove the cookies from the oven, and allow them to cool completely. 5. MAKE the filling: Whisk together the heavy cream and other ingredients. When blended, whip until the cream holds a soft peak. 6. ASSEMBLE: Place one cookie on a small plate. Put about a tablespoon of whipped cream on top; our teaspoon cookie scoop, heaped up, works well here. Flavored Whipped Cream Variations To flavor 1 cup of cream, add one of the following combinations 2 tablespoons confectioners sugar + 3/4 teaspoon vanilla extract. To play around with other flavors, use these guidelines: Put on your toque and your apron and get out your artist’s palette. |
 [6] Nabisco Famous Chocolate Wafers (photo courtesy Nabisco).
|
|
|
|
||

