TIP OF THE DAY: Make Thanksgiving Chocolate Bars Or Bark
|
|
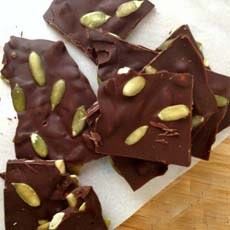
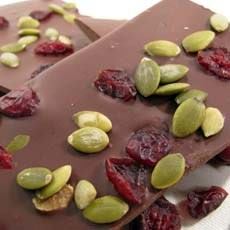
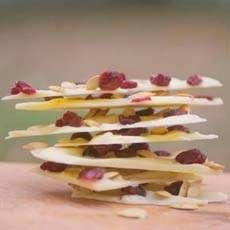
We love to make chocolate bark, especially since we discovered this easy technique from Australian blogger Erika Rax. You can make bark almost instantly: for family, friends or gifting. In the conventional technique, the chocolate is chopped and melted, the inclusions mixed in, the mixture spread on a baking sheet to set and then broken up. Here, whole chocolate bars are topped with the inclusions, then placed in the oven so the bar melts and the inclusions set in. The result: chocolate bars with your favorite toppings, that can be broken into bark if you wish. Personally, we give them whole as gifts and break them up when serving them with coffee. Use the chocolate of your choice—dark, milk, white—or make one of each. Just ensure that the toppings contrast with the color of the chocolate. You can use as much topping as you like, from elegantly spare to voluptuously overloaded. You can place the toppings in an artistic pattern, or just toss them on. 1. PREHEAT the oven to 170°F. Spray a baking sheet with cooking spray and line with parchment, leaving an overhang on the ends. 2. SPACE the bars on the baking sheet bottom side up, with ample space between them (the pattern normally on top of the bar is on the bottom so the toppings have a level base). Arrange the toppings on top of the bars. 3. PLACE the baking sheet in the oven for 3-5 minutes until the chocolate just begins to soften. Don’t overheat or the bars will lose their shape. 4. REMOVE from the oven, lift the parchment from the hot baking sheet, and place it onto the counter to cool. Once cooled, store in an airtight container in a cool, dry place. While bark will last longer, for gifting make it no more than 3 days in advance, and wrap it in plastic or foil before gifting. You can also make your own paper chocolate bar label on the computer. |
|
|
CHECK OUT WHAT’S HAPPENING ON OUR HOME PAGE, THENIBBLE.COM. |
||


