TIP OF THE DAY: Make Halloween Bark

|
Chocolate bark is like a chocolate bar, but vive la différence!
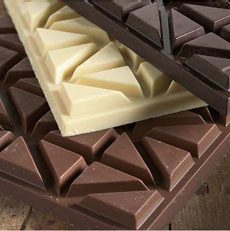
Unlike chocolate bars, bark is not molded into individual rectangles. Instead, the melted chocolate is spread onto large pans to harden. While semi-hard, toppings—nuts, dried fruits, candies and more—are tossed on top in random order. When set, the bark is broken into shards, like brittle. Why is it called bark? HOW BARK GOT ITS NAME The Word Detective reminds us of the three basic “bark” nouns in English, none of which refers to chocolate: We don’t know, even though it’s a relatively modern concept. |
|
|
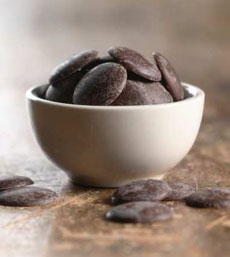
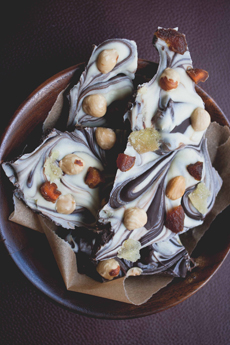
READY TO MAKE BARK? It couldn’t be easier: Melt the chocolate, throw toppings on it and break it into pieces. 1. PICK YOUR CHOCOLATE Chocolate bark can be made with any kind of chocolate: dark, milk or white; plain, layered or two-tone swirled. You can also tint white chocolate; for example, to make an orange base or layer. Some recipes advise you to use chocolate substitutes: almond bark (which is not chocolate with almonds unless you buy it from a good chocolate shop), candy melts, Candiquick or other base made with partly hydrogenated palm kernel oil instead of cocoa butter. For us: wrong. We can really taste the difference. To save money with a treat for young children, who don’t have refined palates and won’t notice, O.K. Anyone else who knows what good food is deserves better. Almond bark is another commonly found bark, topped with almonds or other nuts. But there’s a catch: Almond bark is also a more appealing name given to vanilla flavored candy coating, a chocolate-like confection made with vegetable fats instead of cocoa butter, with artificial vanilla and possibly other artificial flavors (for example, almond). Be aware, and avoid it! |
||
|
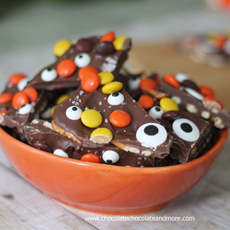
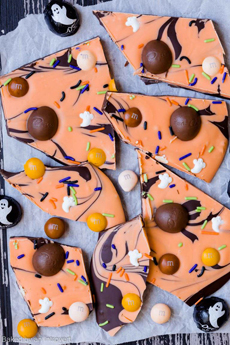
2. PICK YOUR HALLOWEEN TOPPINGS
Pile on the seasonal candies: RECIPE: HALLOWEEN CHOCOLATE BARK These ingredients are for an 8″ x 8″ pan. For a larger pan, e.g. 13″ x 17″, use 1 pound of chocolate and double the toppings. Ingredients 1. LINE a baking sheet or pan with parchment paper. 2. PARTIALLY MELT the chocolate in a medium-size microwave-safe bowl, heating at 30-60 second intervals until about half the chocolate is melted. Remove the bowl and stir or whisk until smooth. This process essentially tempers the chocolate. 3. POUR the chocolate onto the parchment paper and spread out slightly, ideally with an offset spatula, to a depth of 1/8″ to 1/4″ thick (bark should be thinner than a chocolate bar). If using a large pan with less chocolate, you do not have to spread the chocolate to the edges. Gently smooth the chocolate into an even layer. If layering or drizzling a second color, the lighter color should be on top. Melt the chocolate after the first layer has been smoothed. 4. SPRINKLE on the toppings and place the baking sheet in the refrigerator until chocolate is set—solid enough to cut, about 20 minutes. Then score the sheet of chocolate, so it’s easier to break into pieces. With a sharp knife, create individual triangles and other shapes of varying sizes. Nothing should be even or uniform: It’s bark! |
|
|
|
5. USE a large, sharp knife to cut the set chocolate into random pieces: shards, triangles, irregular rectangles, etc. Store in an airtight container. |
||

